Ski-Doo Gen4/G5/Lynx
Installation Instructions Hot’n Shreddy Bag
The Hot’n Shreddy installation isn’t a difficult process but does require some disassembly and reassembly of your snowmobile. The instructions below have large photos and detailed process steps to guide your way. The most important thing is to take your time.
Dealer Installation Time: 1 Hour
The Hot’n Shreddy installation is also designed to be completed by a dealer in about an hour, so if you don’t want to take on the project then a dealer can support you with a minimal cost.
Gen4 & Gen 5 Skidoo/Lynx
The difference between G4 & G5 is the ACCESSORY POWER LOCATION
DO NOT use the power located behind the gas tank OR any other 3 prong connector. These are NOT compatible.
Gen5 Power Location
The main 2 prong plug is located under the display making it easier to add powered accessories to your G5!
Step 1: Remove Plastics
Remove all plastics, this includes:
Display and Glove Box
Left Side Panel
Right Side Panel
Hood (unplug electrical connectors)
Step 2: Remove COWLING and UnPlug COnnections
Remove zip ties holding factory wiring harness to the cowling with a side cutter
Locate white pins in front of the handlebar and gently squeeze with needle nose pliers, then pushing downward for removal
Remove gas cap and loosen collar, this should be accomplished without tools and hand pressure.
Using an 8mm socket, loosen both 8mm nuts on both sides of the cowling. Located by ECU and heated grip switch
Remove seat by sliding fingers between front of seat and gas tank until reaching until you feel large plastic tab. Lift up on tab and slide seat backwards.
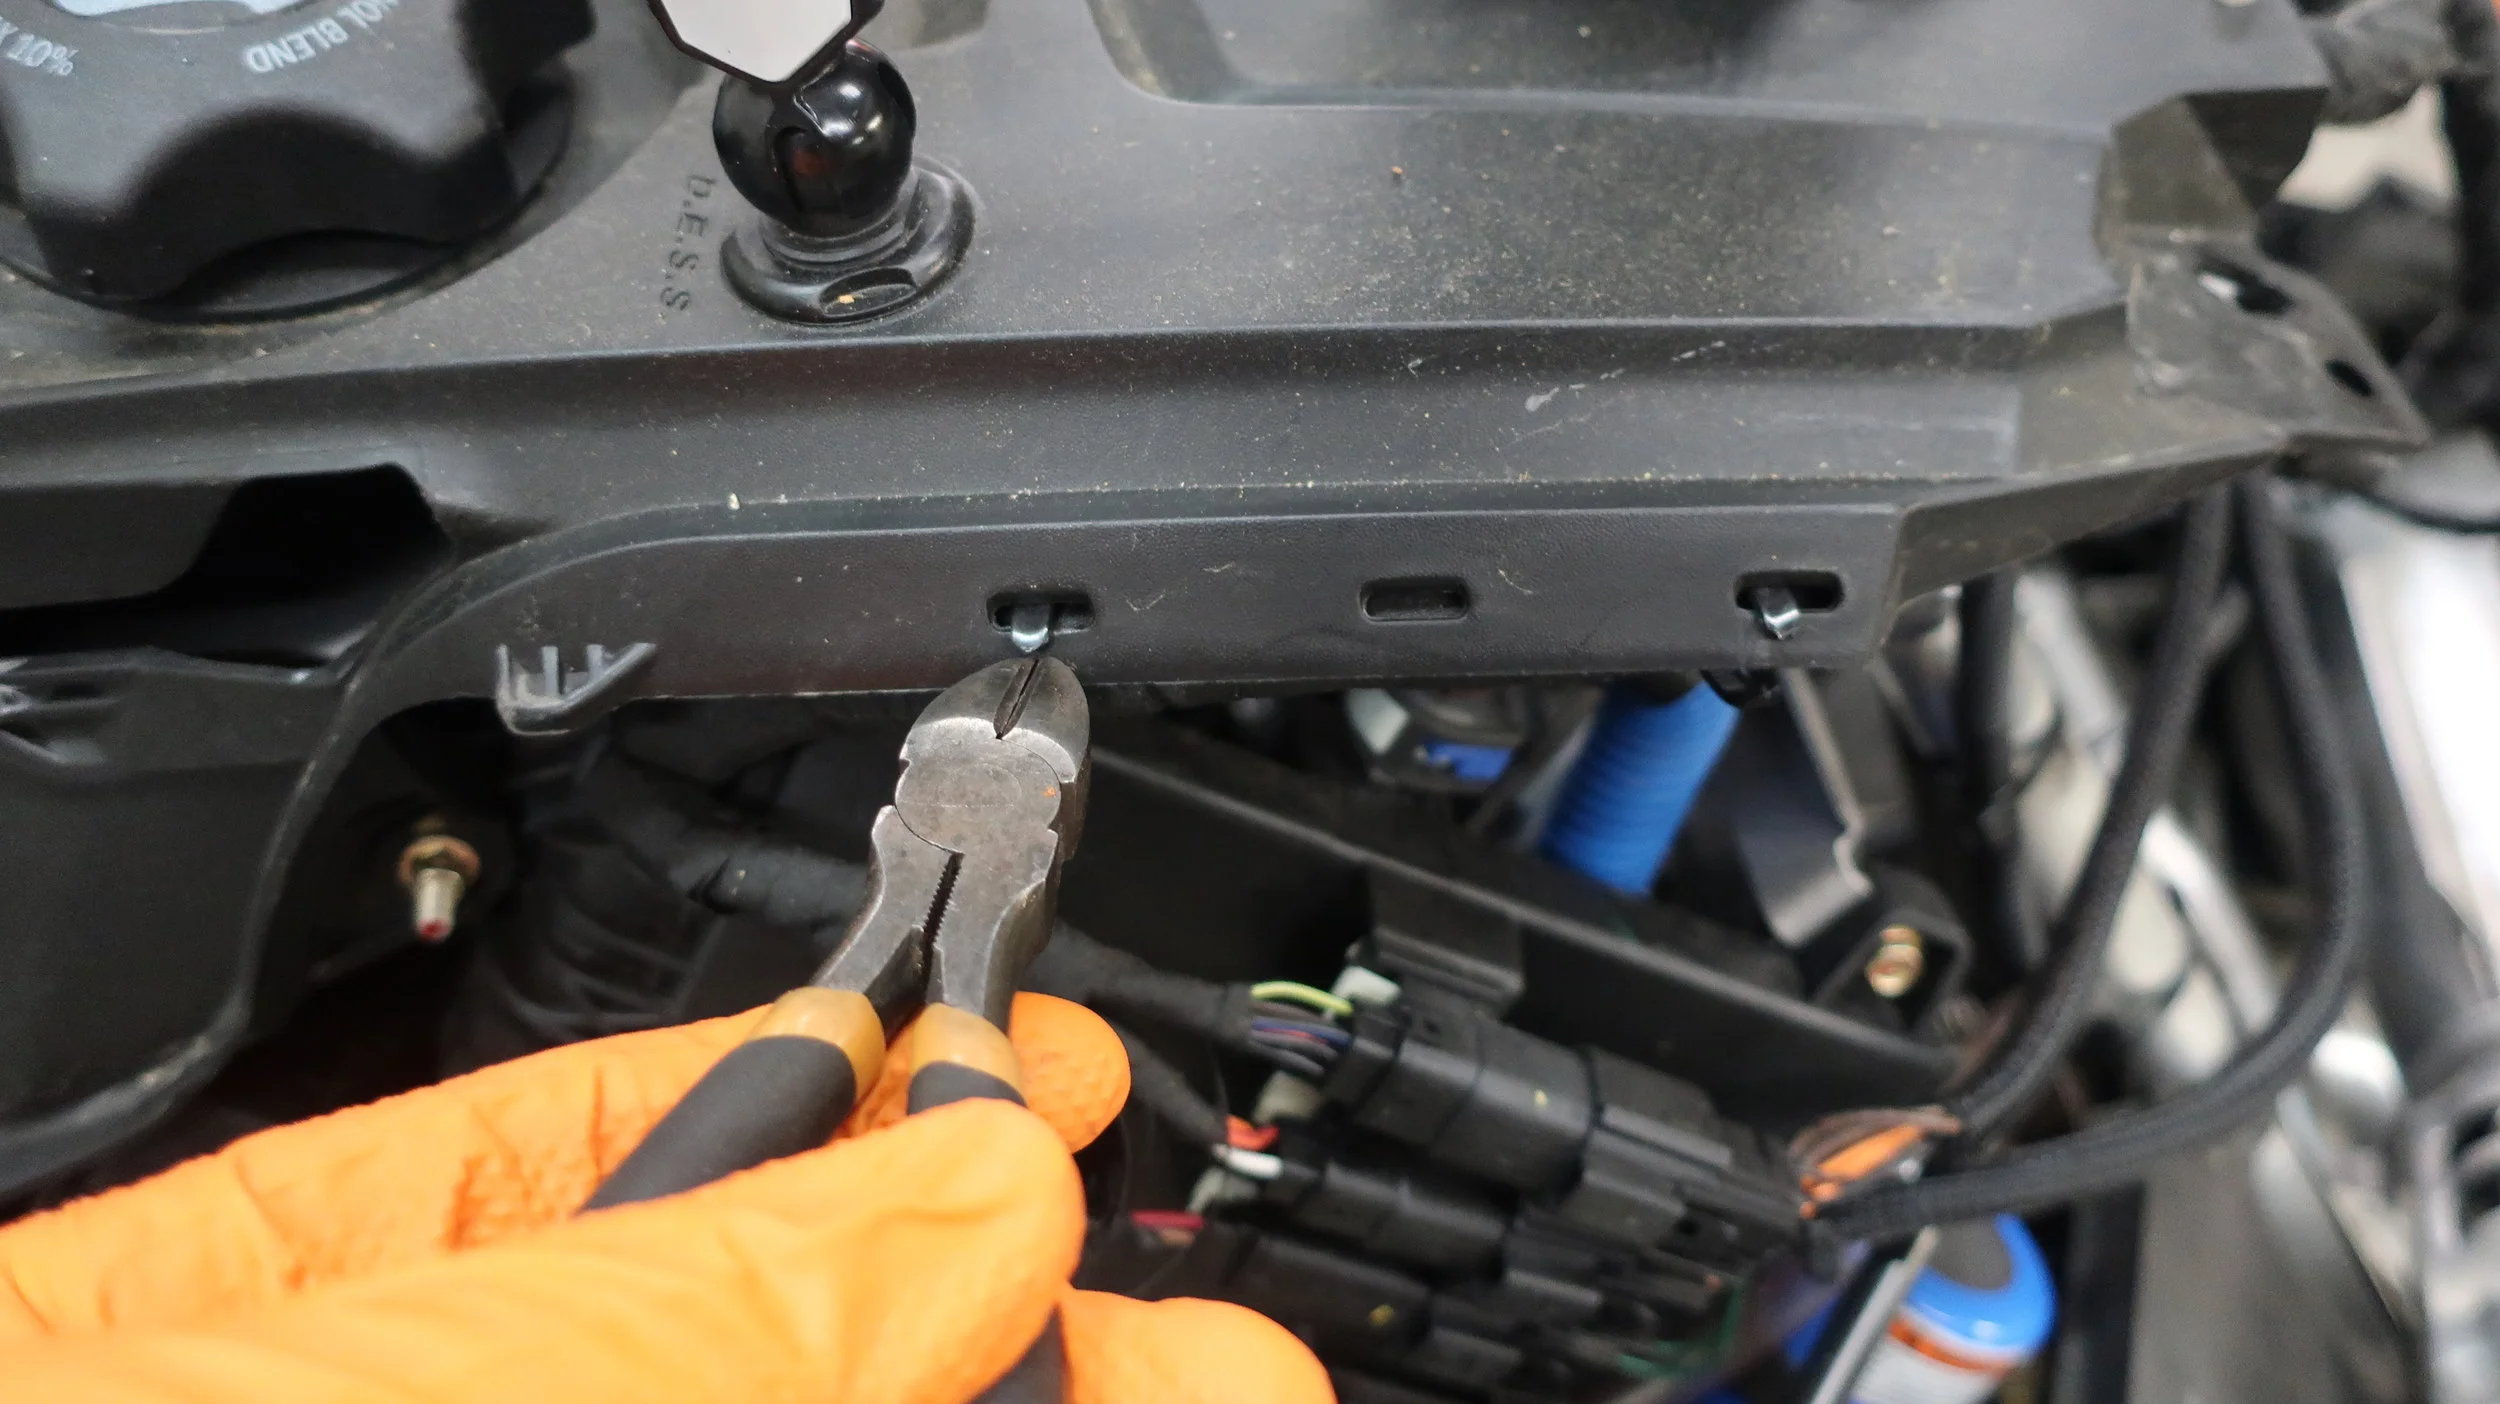
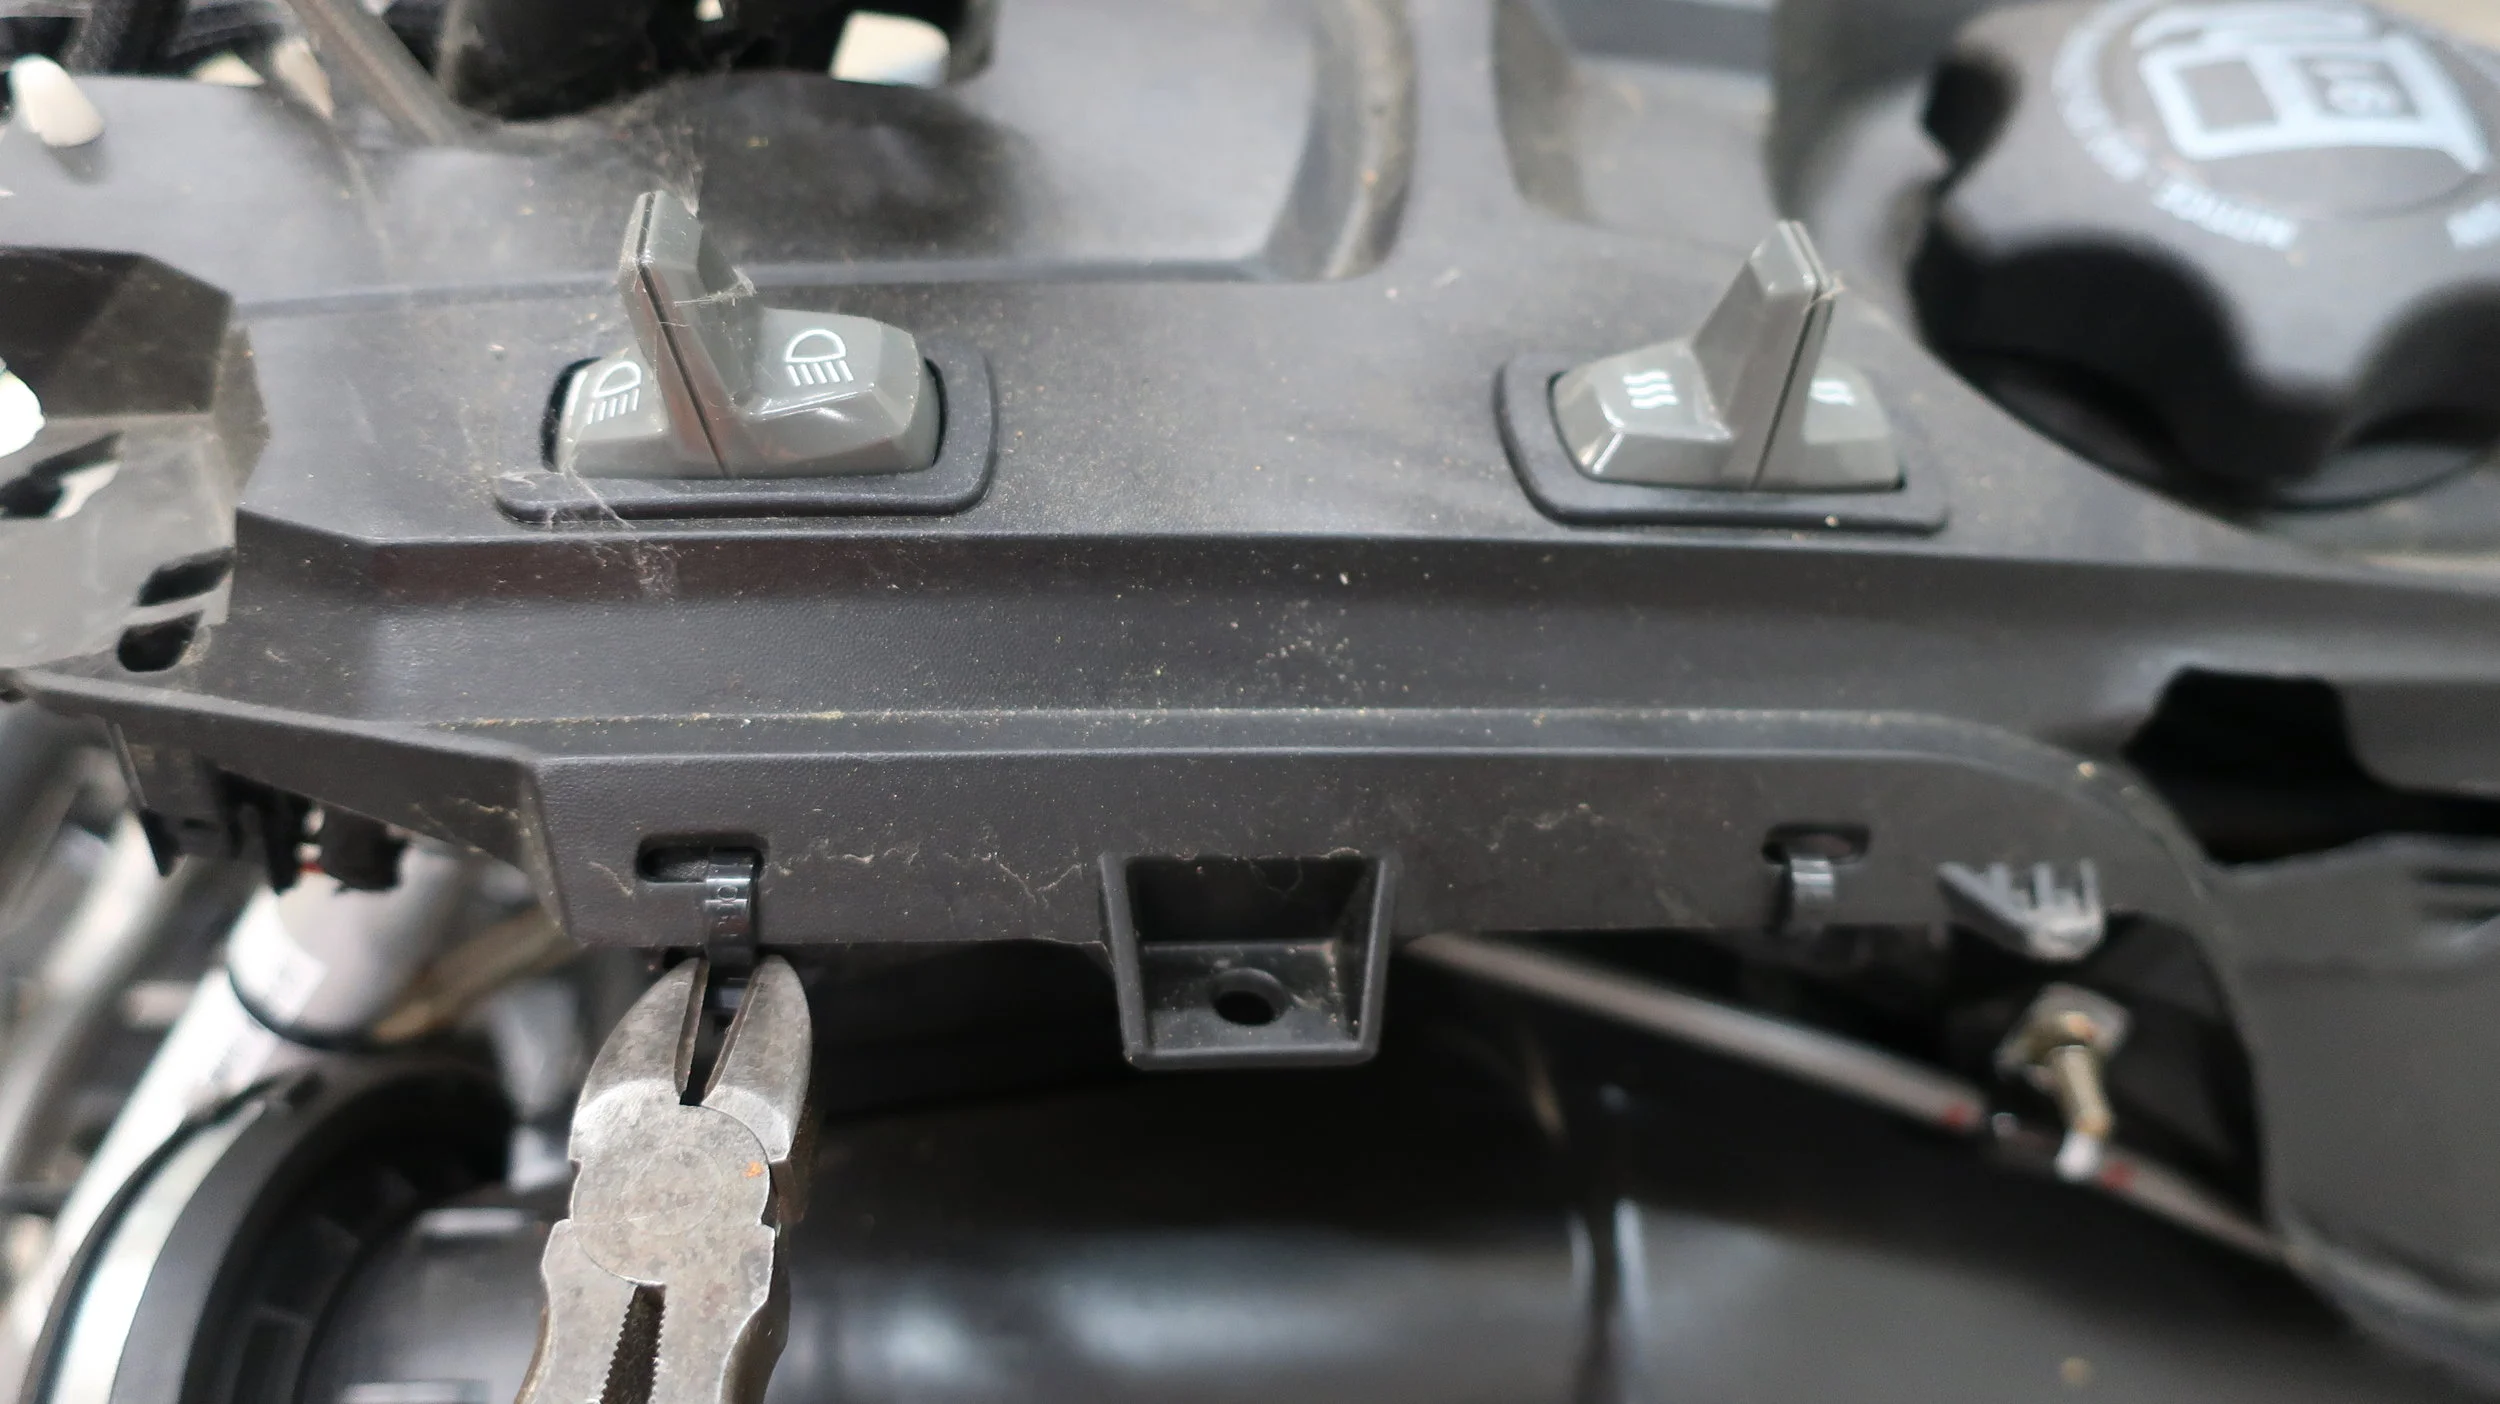


STEP 3: Loosening Pyramidial Frame & removing Cowling
Using a T40 Torx, remove both bolts on both sides of the Pyramidial Frame at the tunnel location
Gently pull outward on cowling to slide over bolts on both sides
Gently pull outward on Pyramidial Frame and slowly free up the rear plastic clip on cowling tucked behind
Disconnect the following wire connections from console: Heated Grip Wire, Headlight Switch Wire, gently move cowling to the right for disconnecting the Key/Tether connection
Lift cowling over gas tank and re-attach Gas Cap

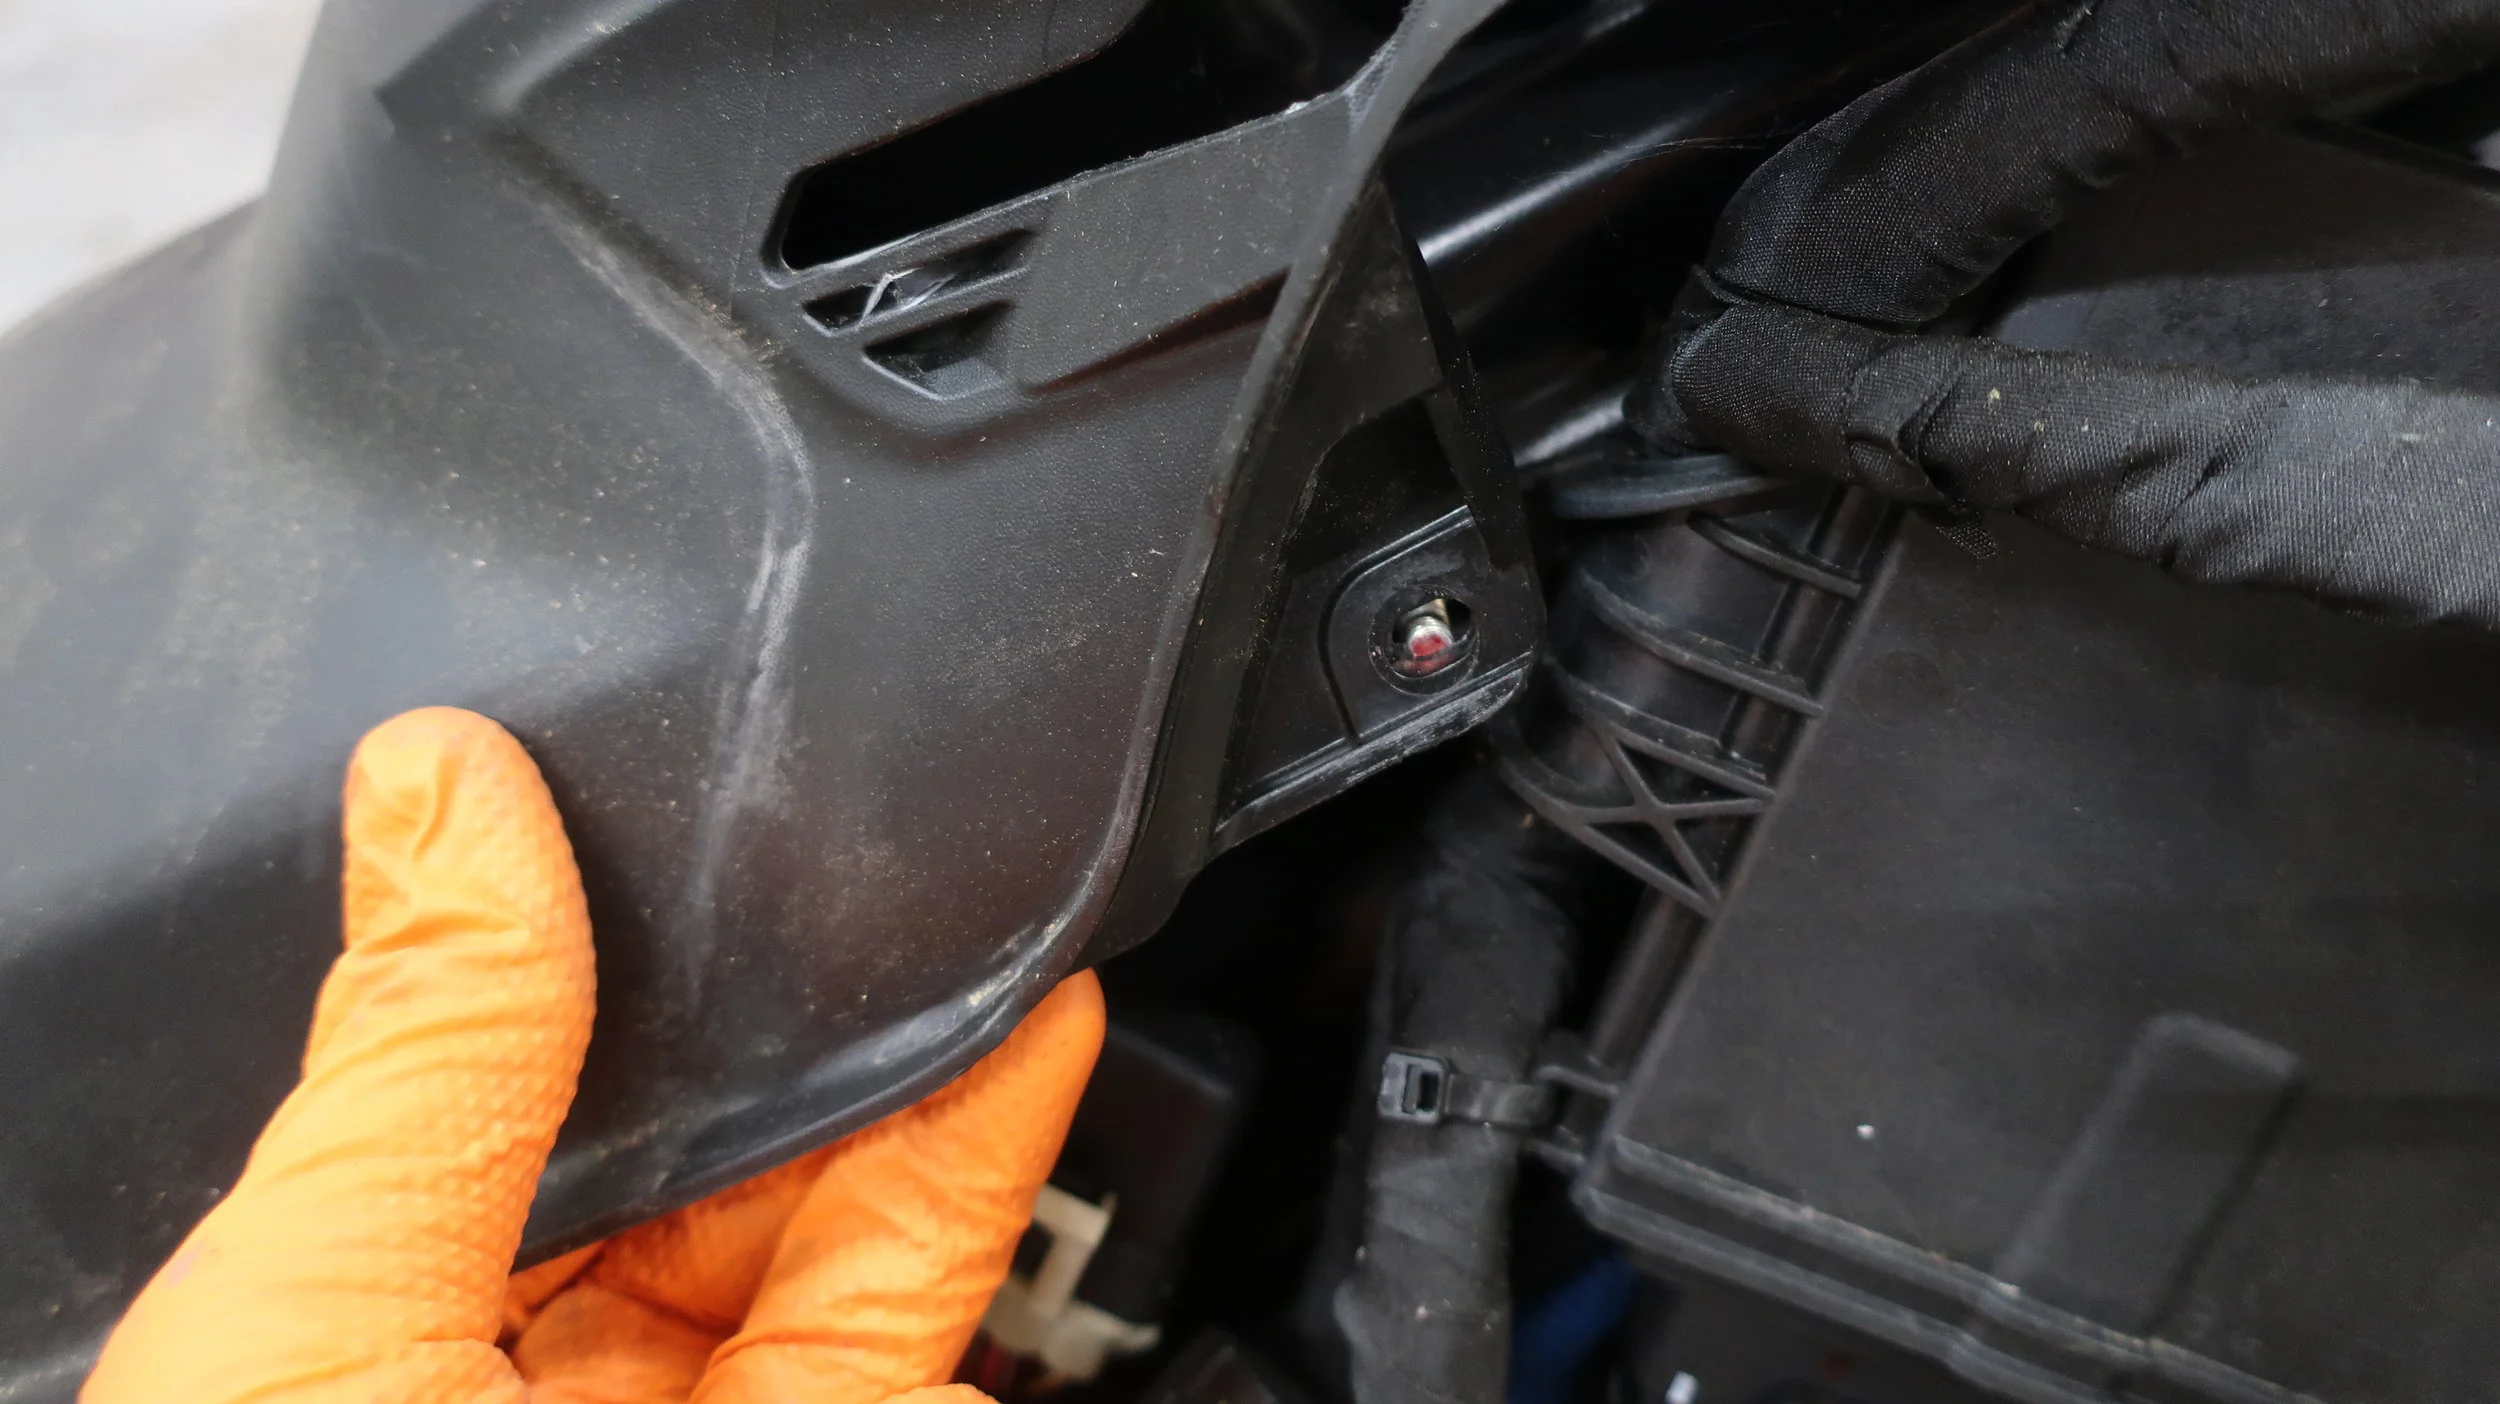


STEP 4: Remove Remaining Pyramidial Frame
Using the same 8 mm socket, remove Pyramidial Frame bolts located near the gas cap
Using a 10 mm socket and 10 mm wrench loosed the through bolt fasteners of the Pyramidial Frame at handlebar location. CAREFUL: There is a spacer/sleeve located on the fastener closest to the gas tank, be sure you hold this when removing the through bolt
Remove zip tie holding the fuel tank breather on the clutch side of the snowmobile
With the Pyramidial Frame disconnected, remove the exhaust side completely and lay the clutch side over and out of the way
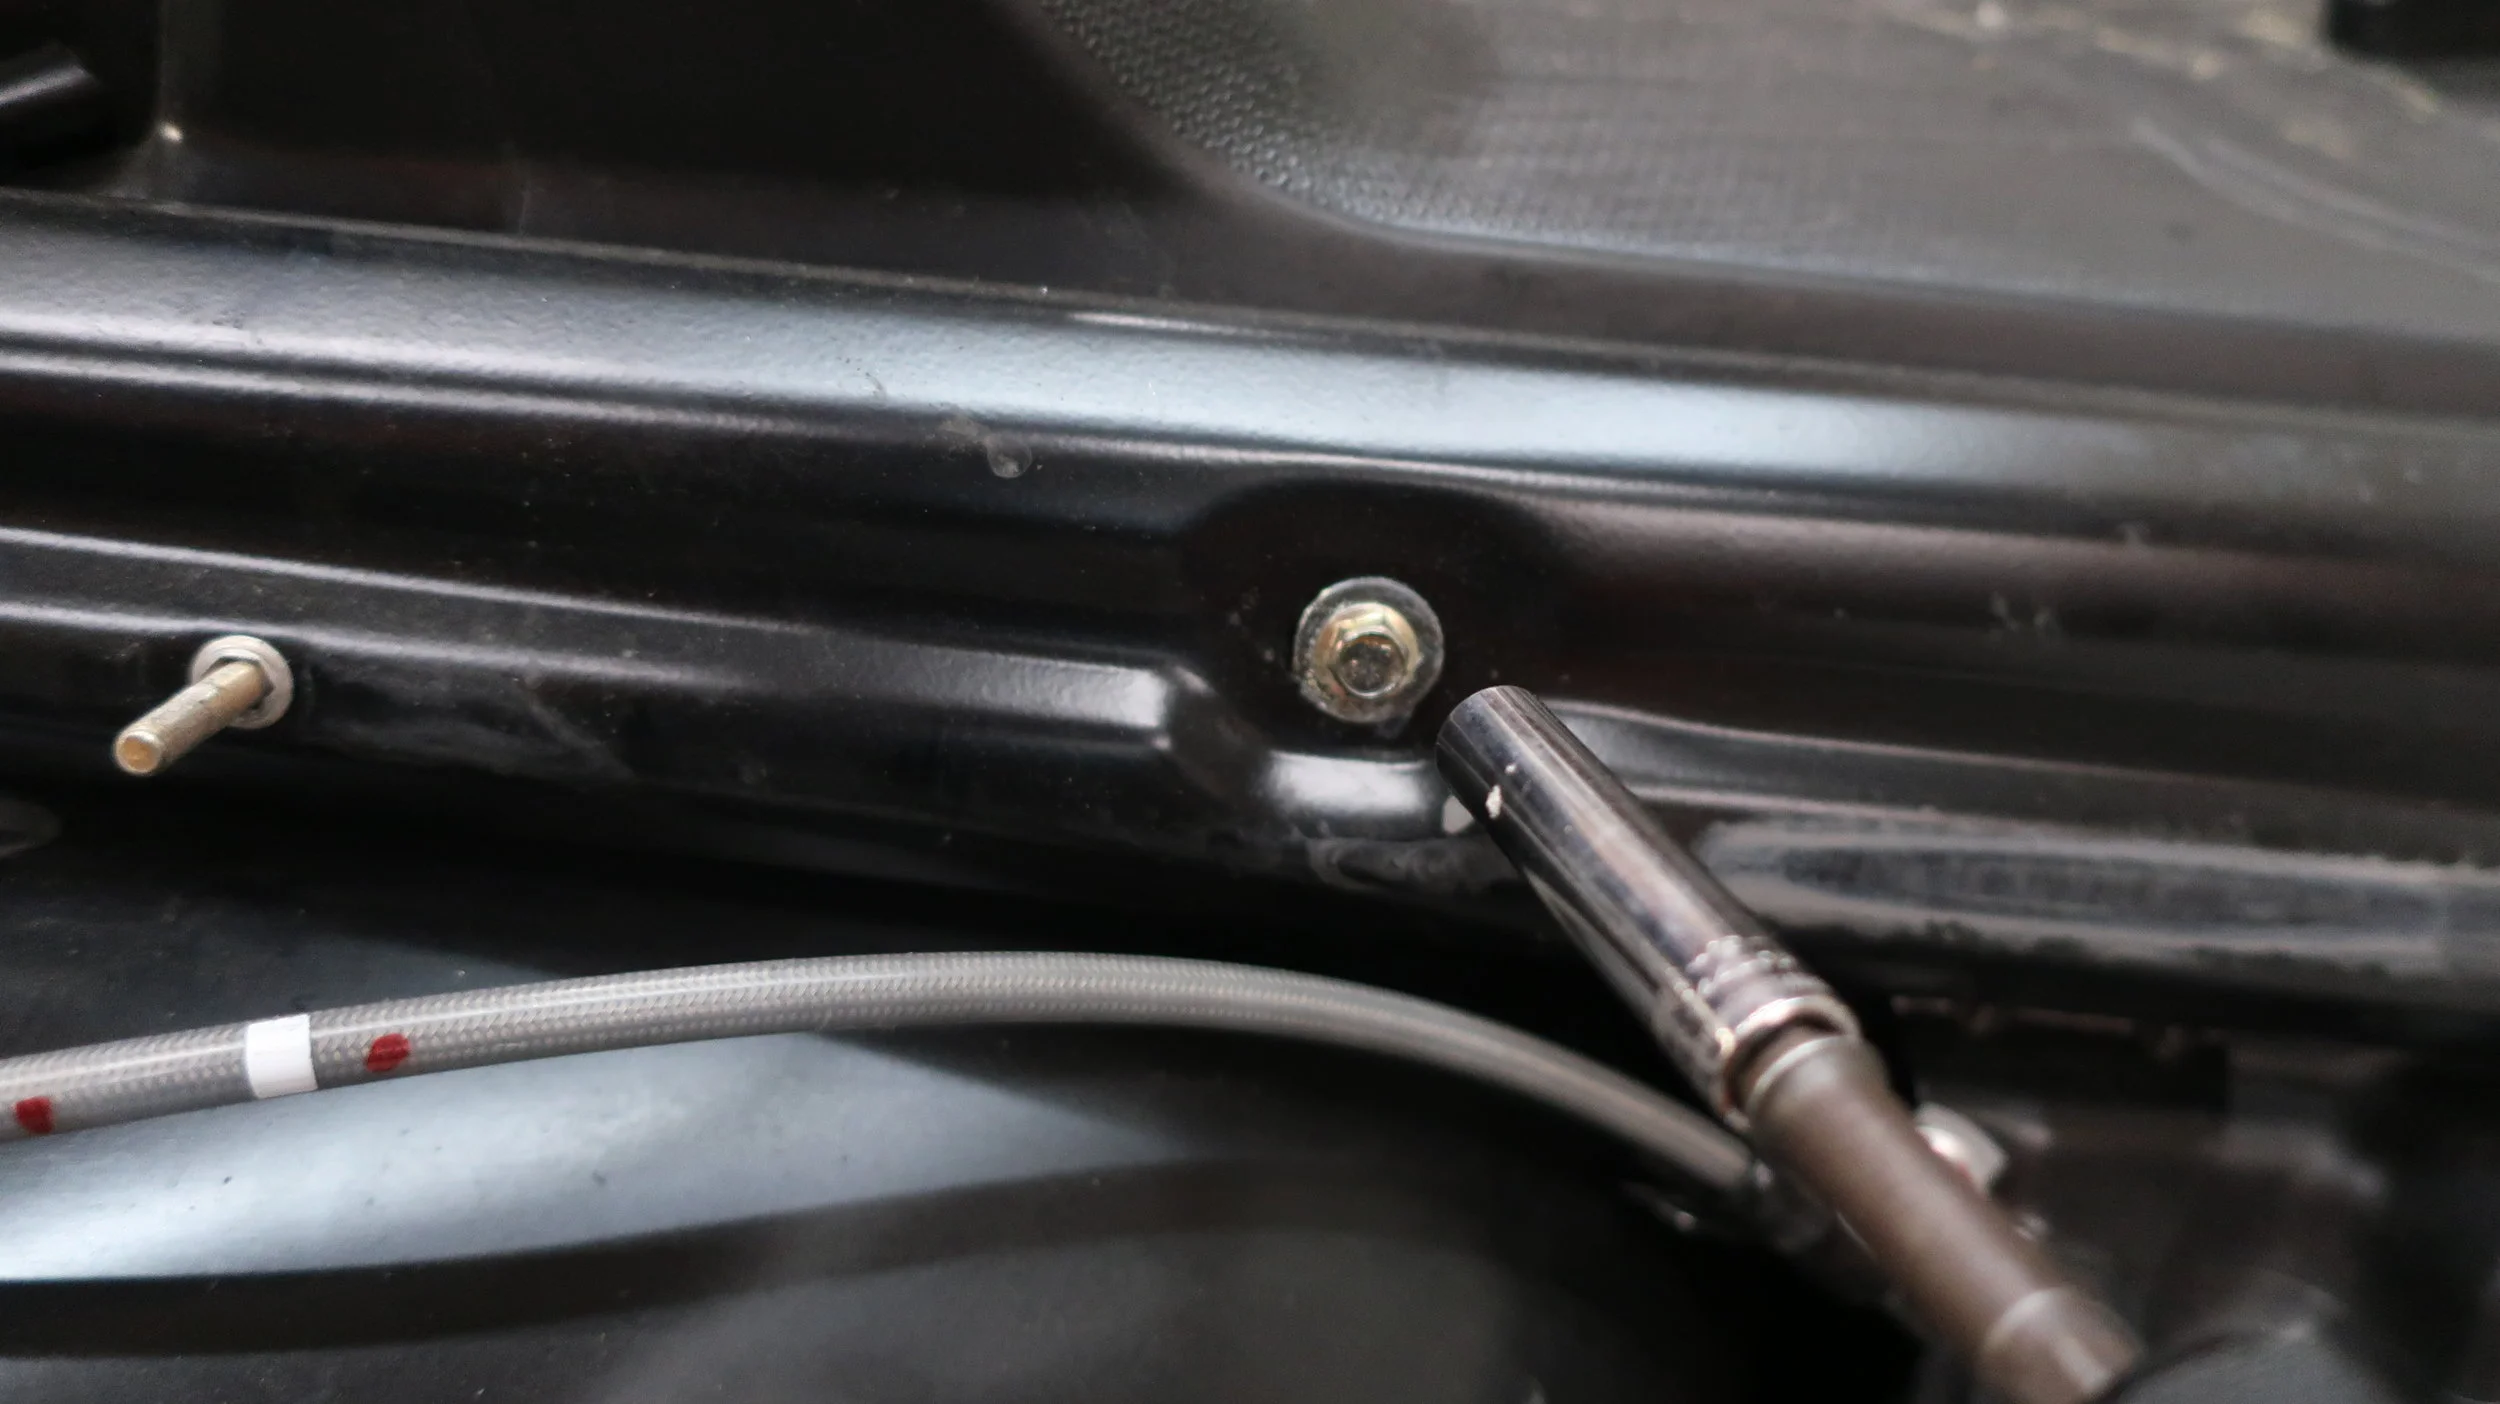
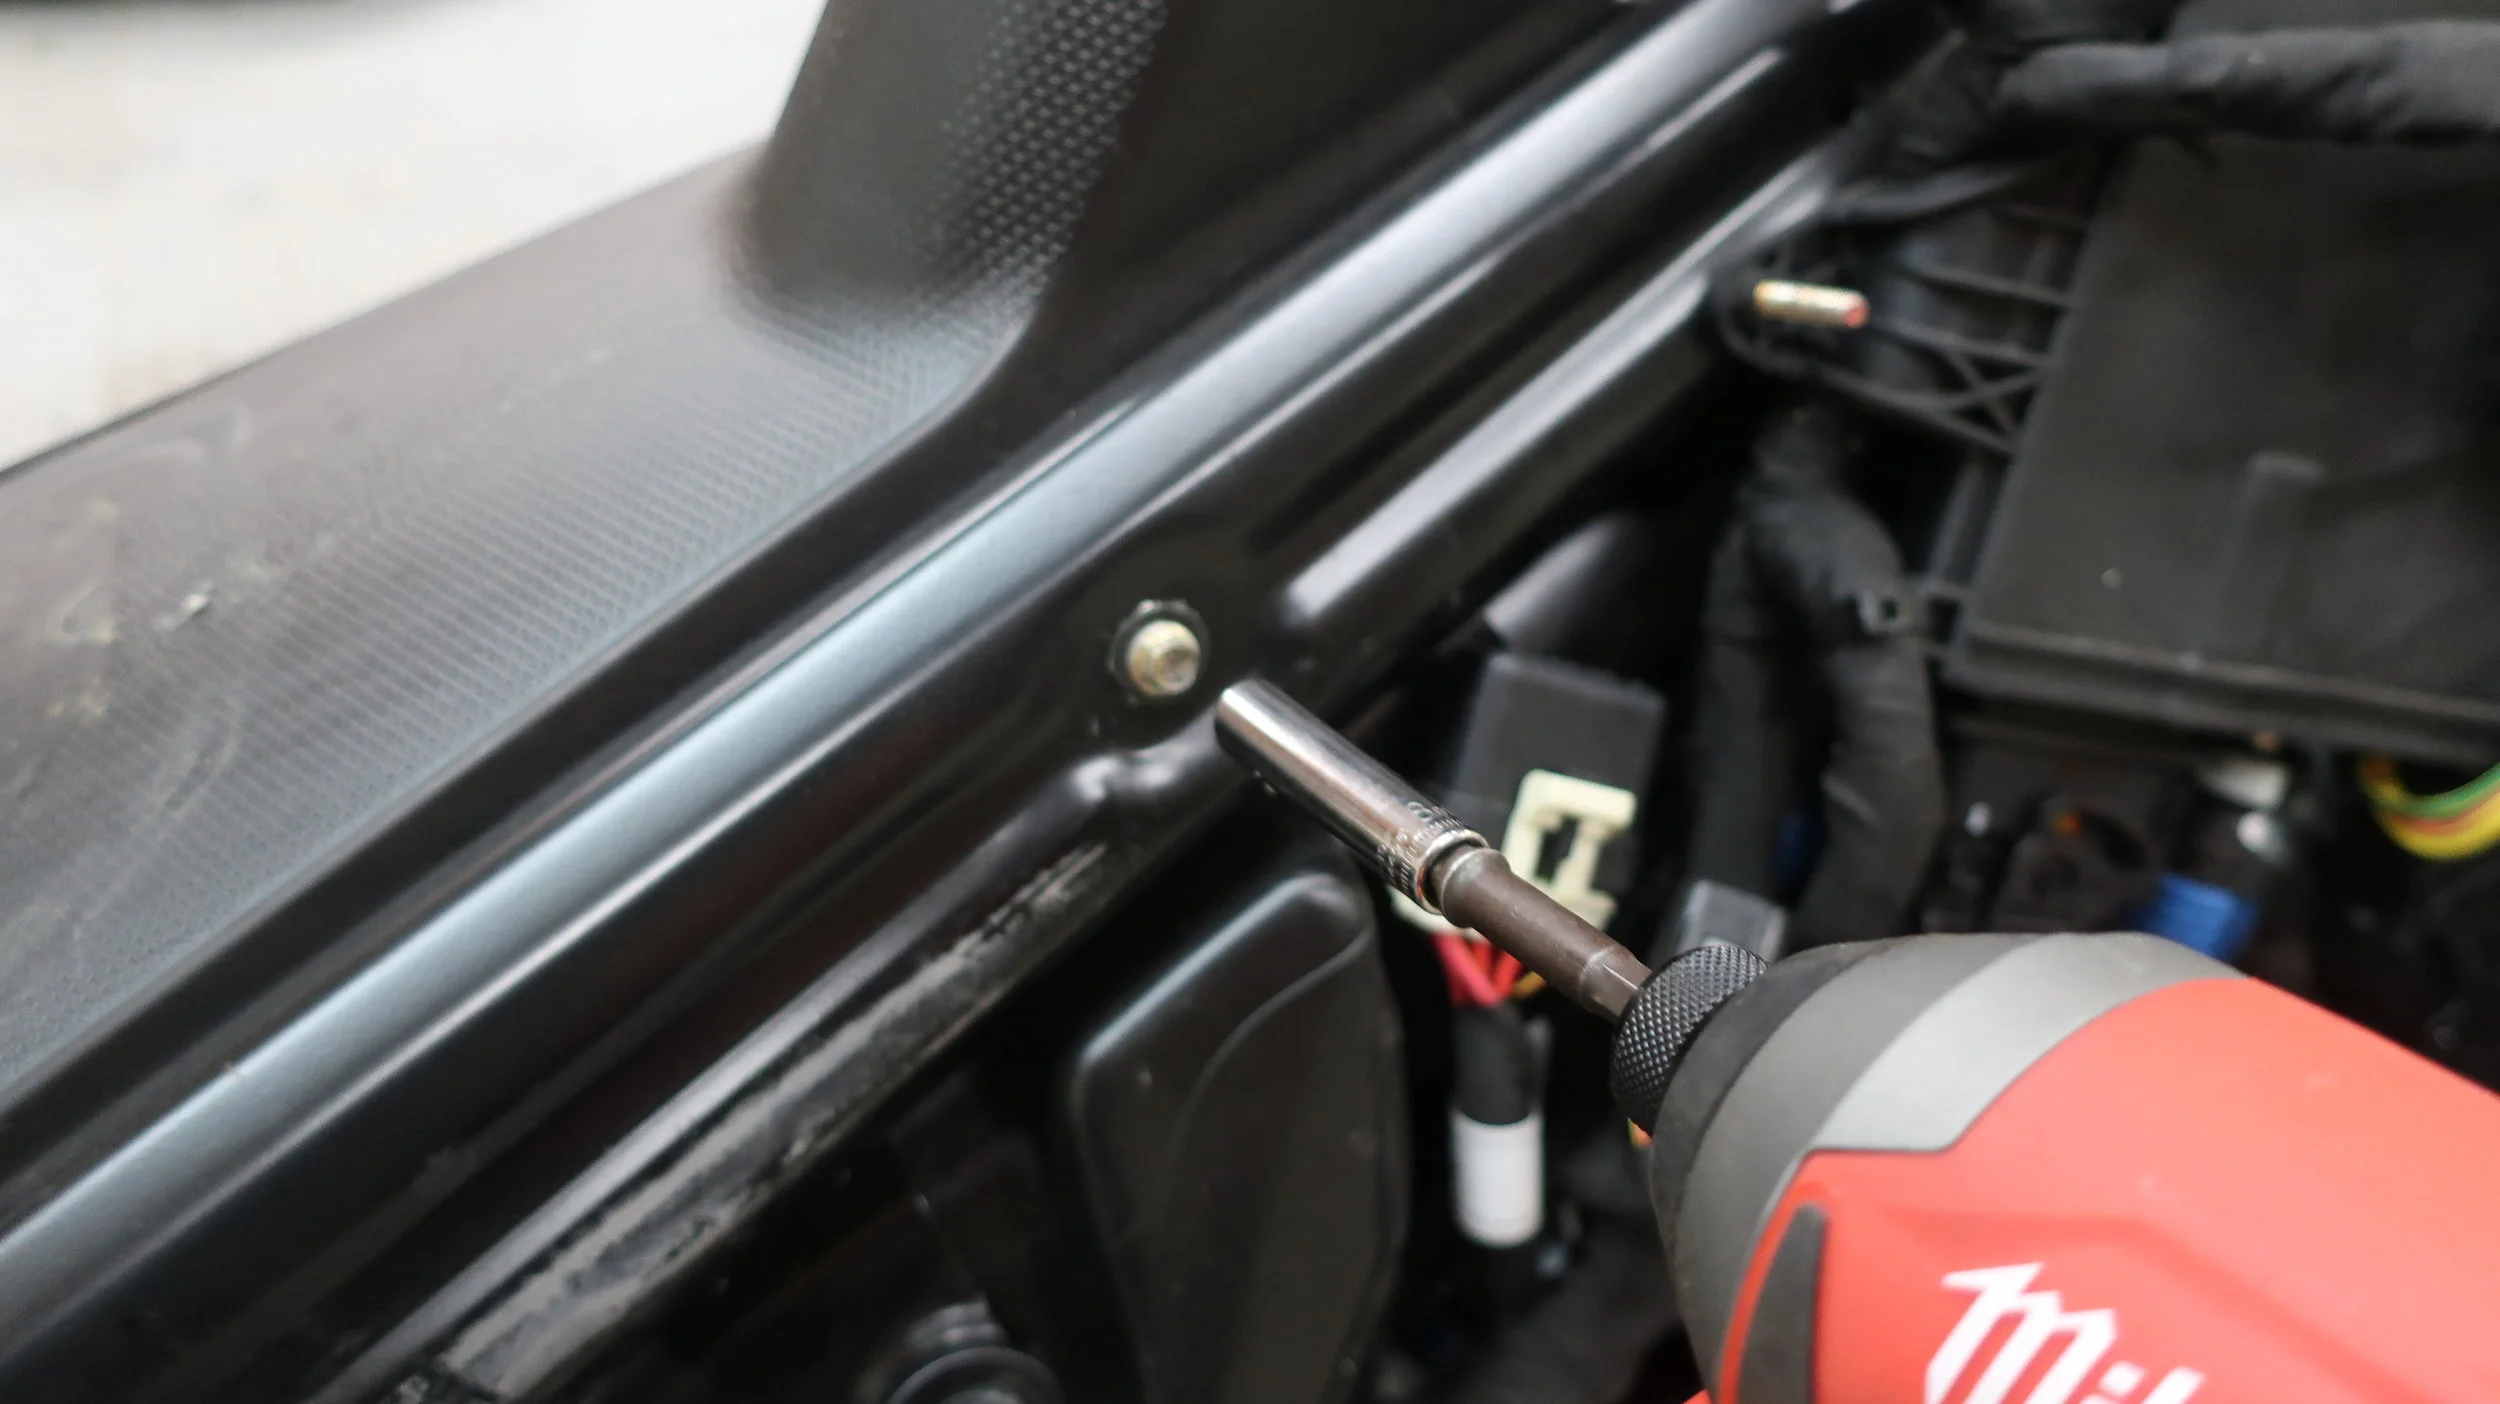

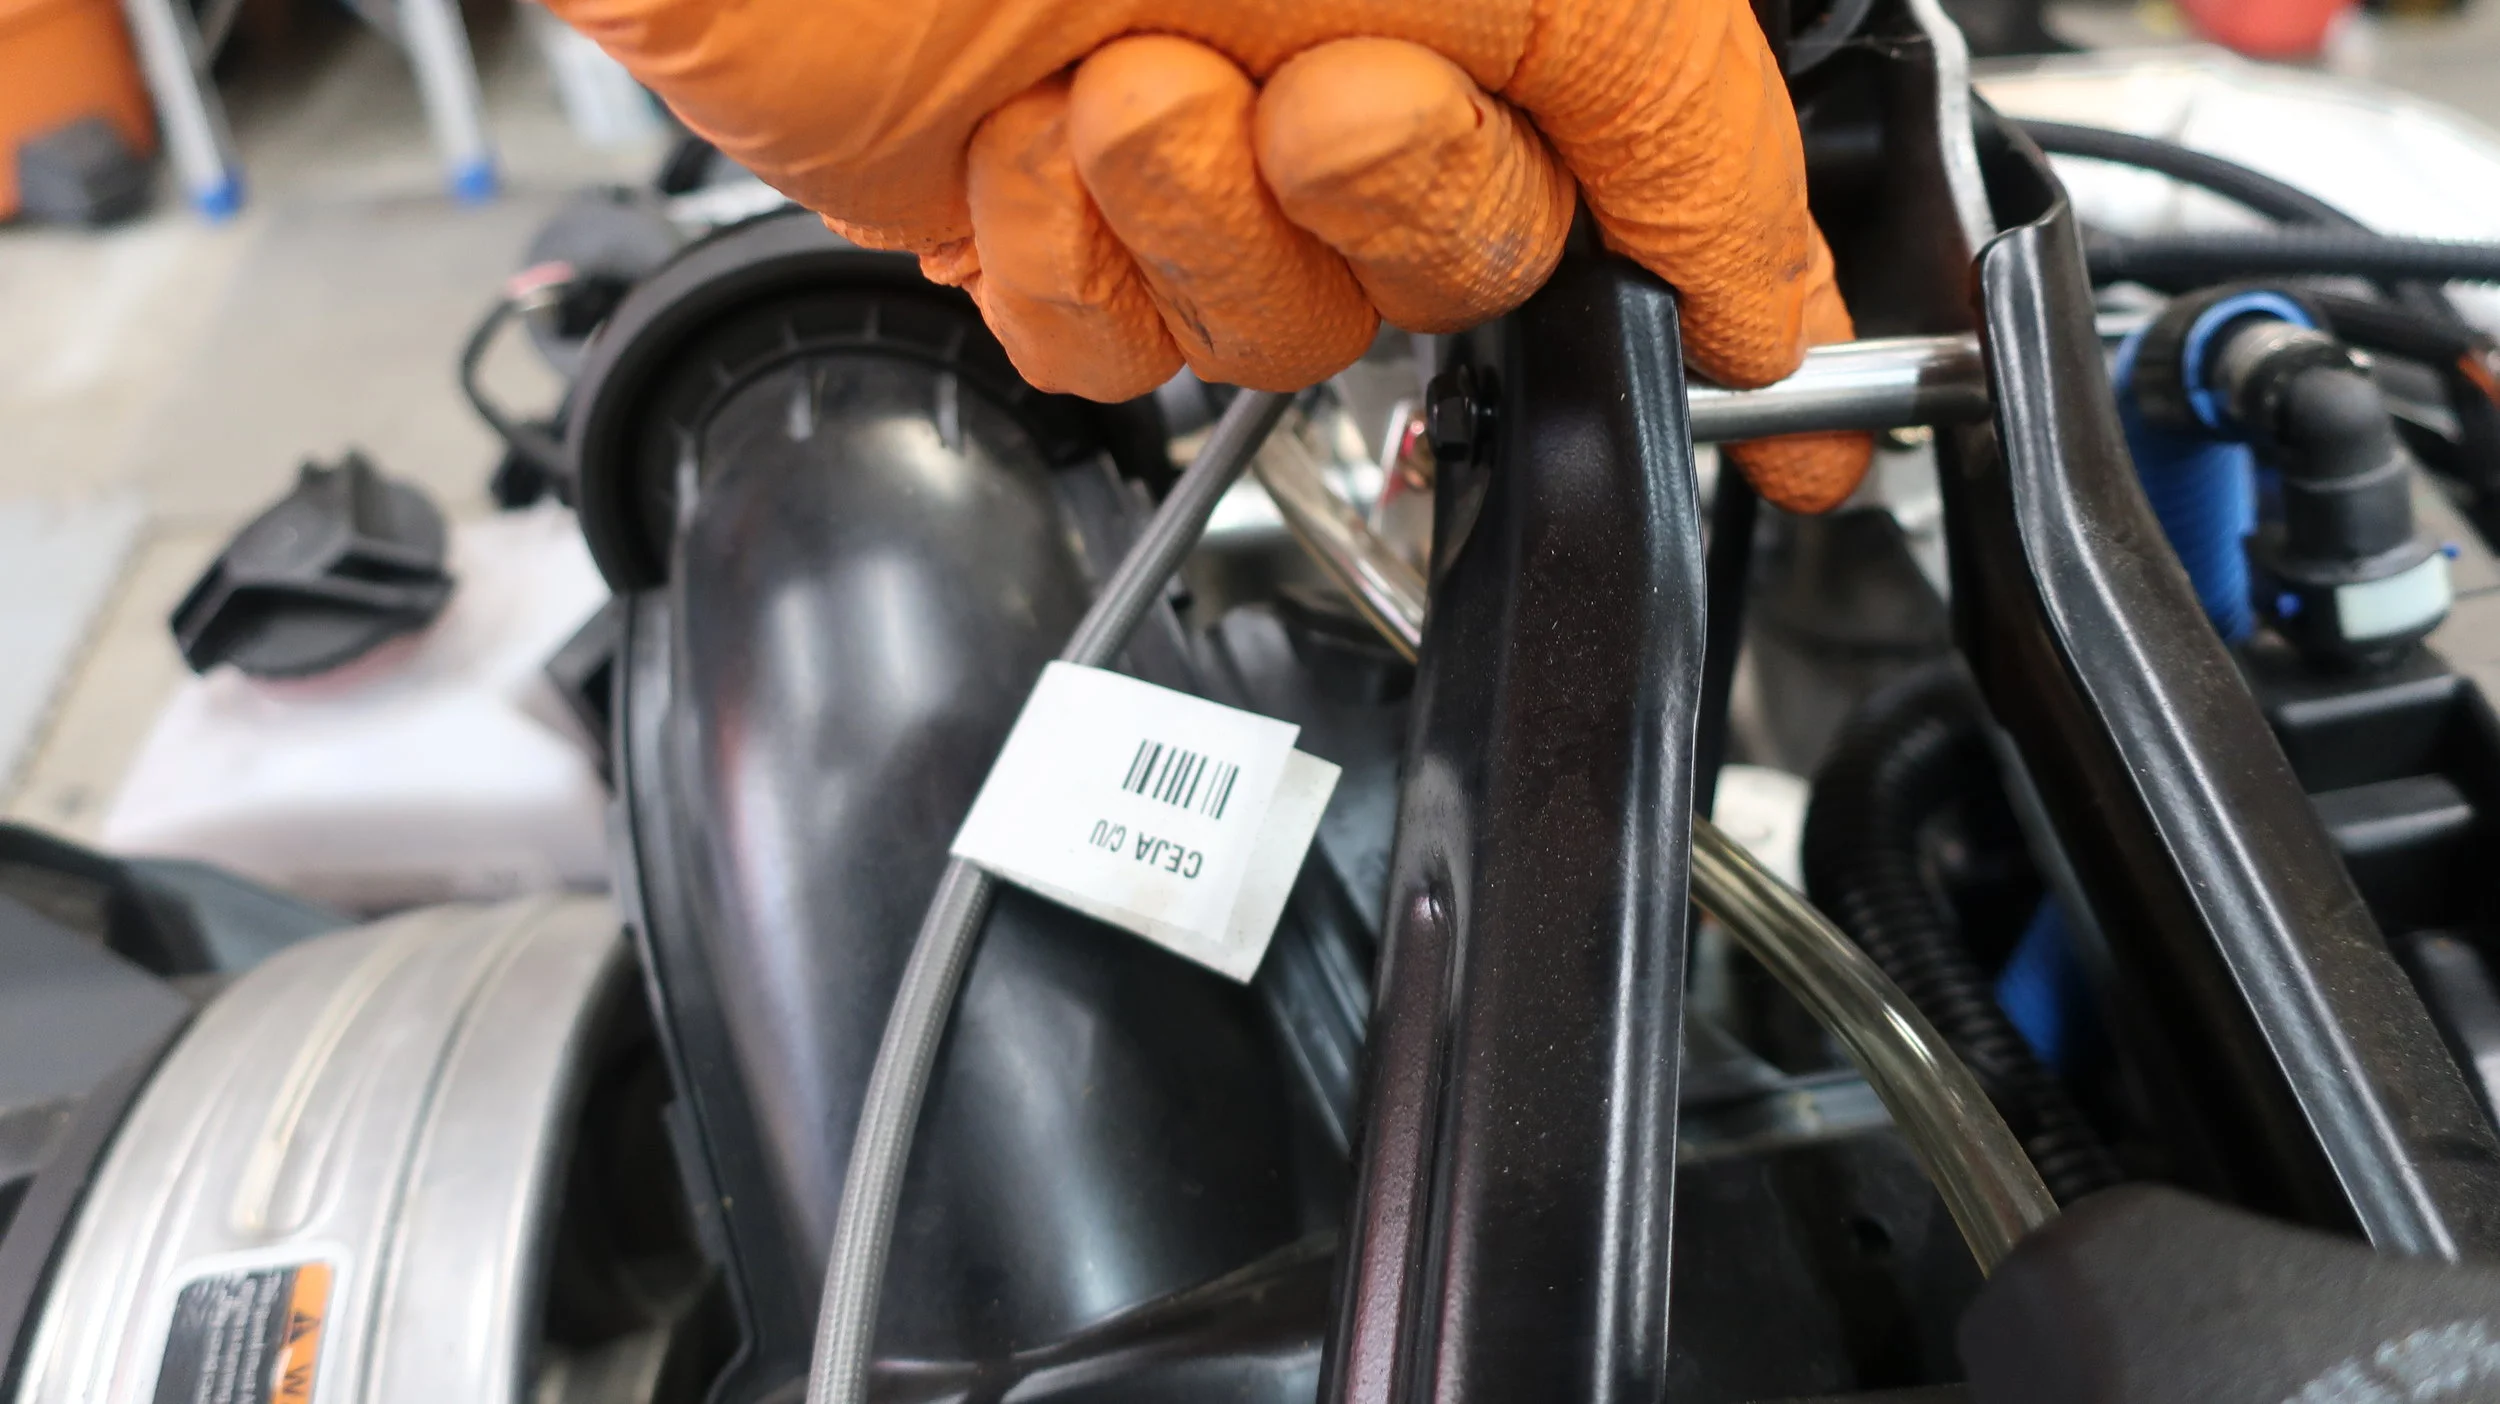


STEP 5: Disconnect Tank Bolts and Breather Tube
Using a 10 mm socket and extension, remove both tank bolts located in the middle of the gas tank
Disconnect gas tank breather tube by pulling outward
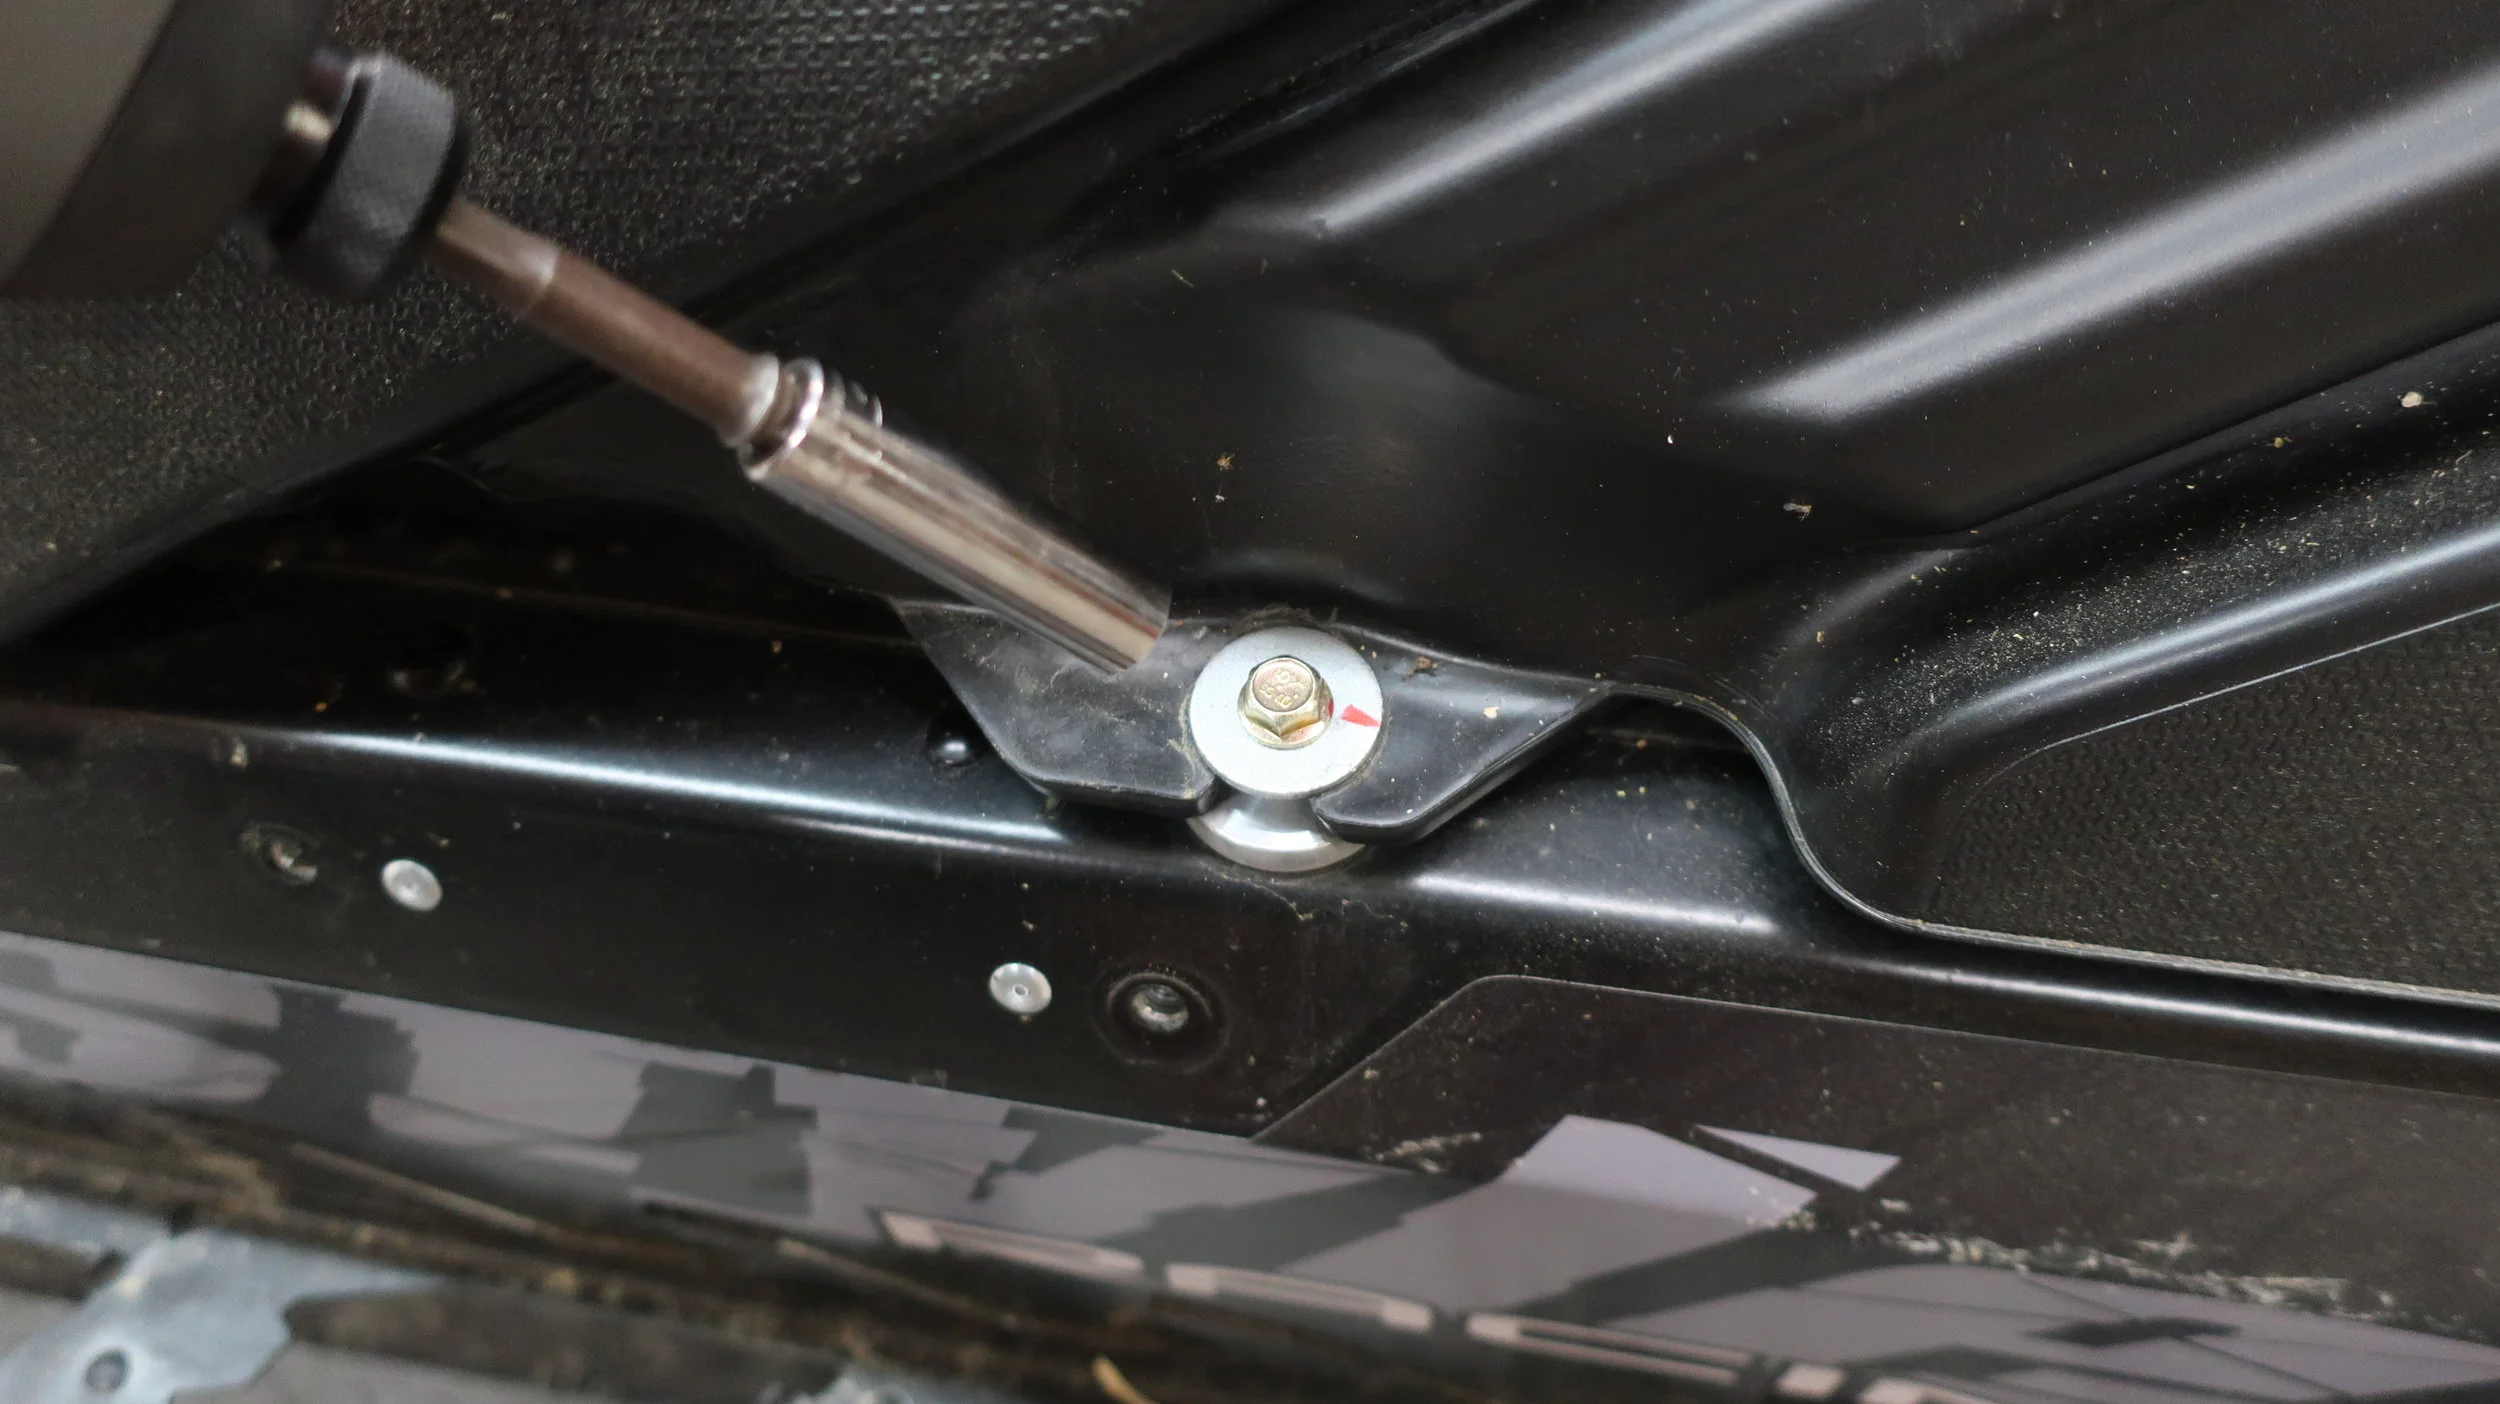
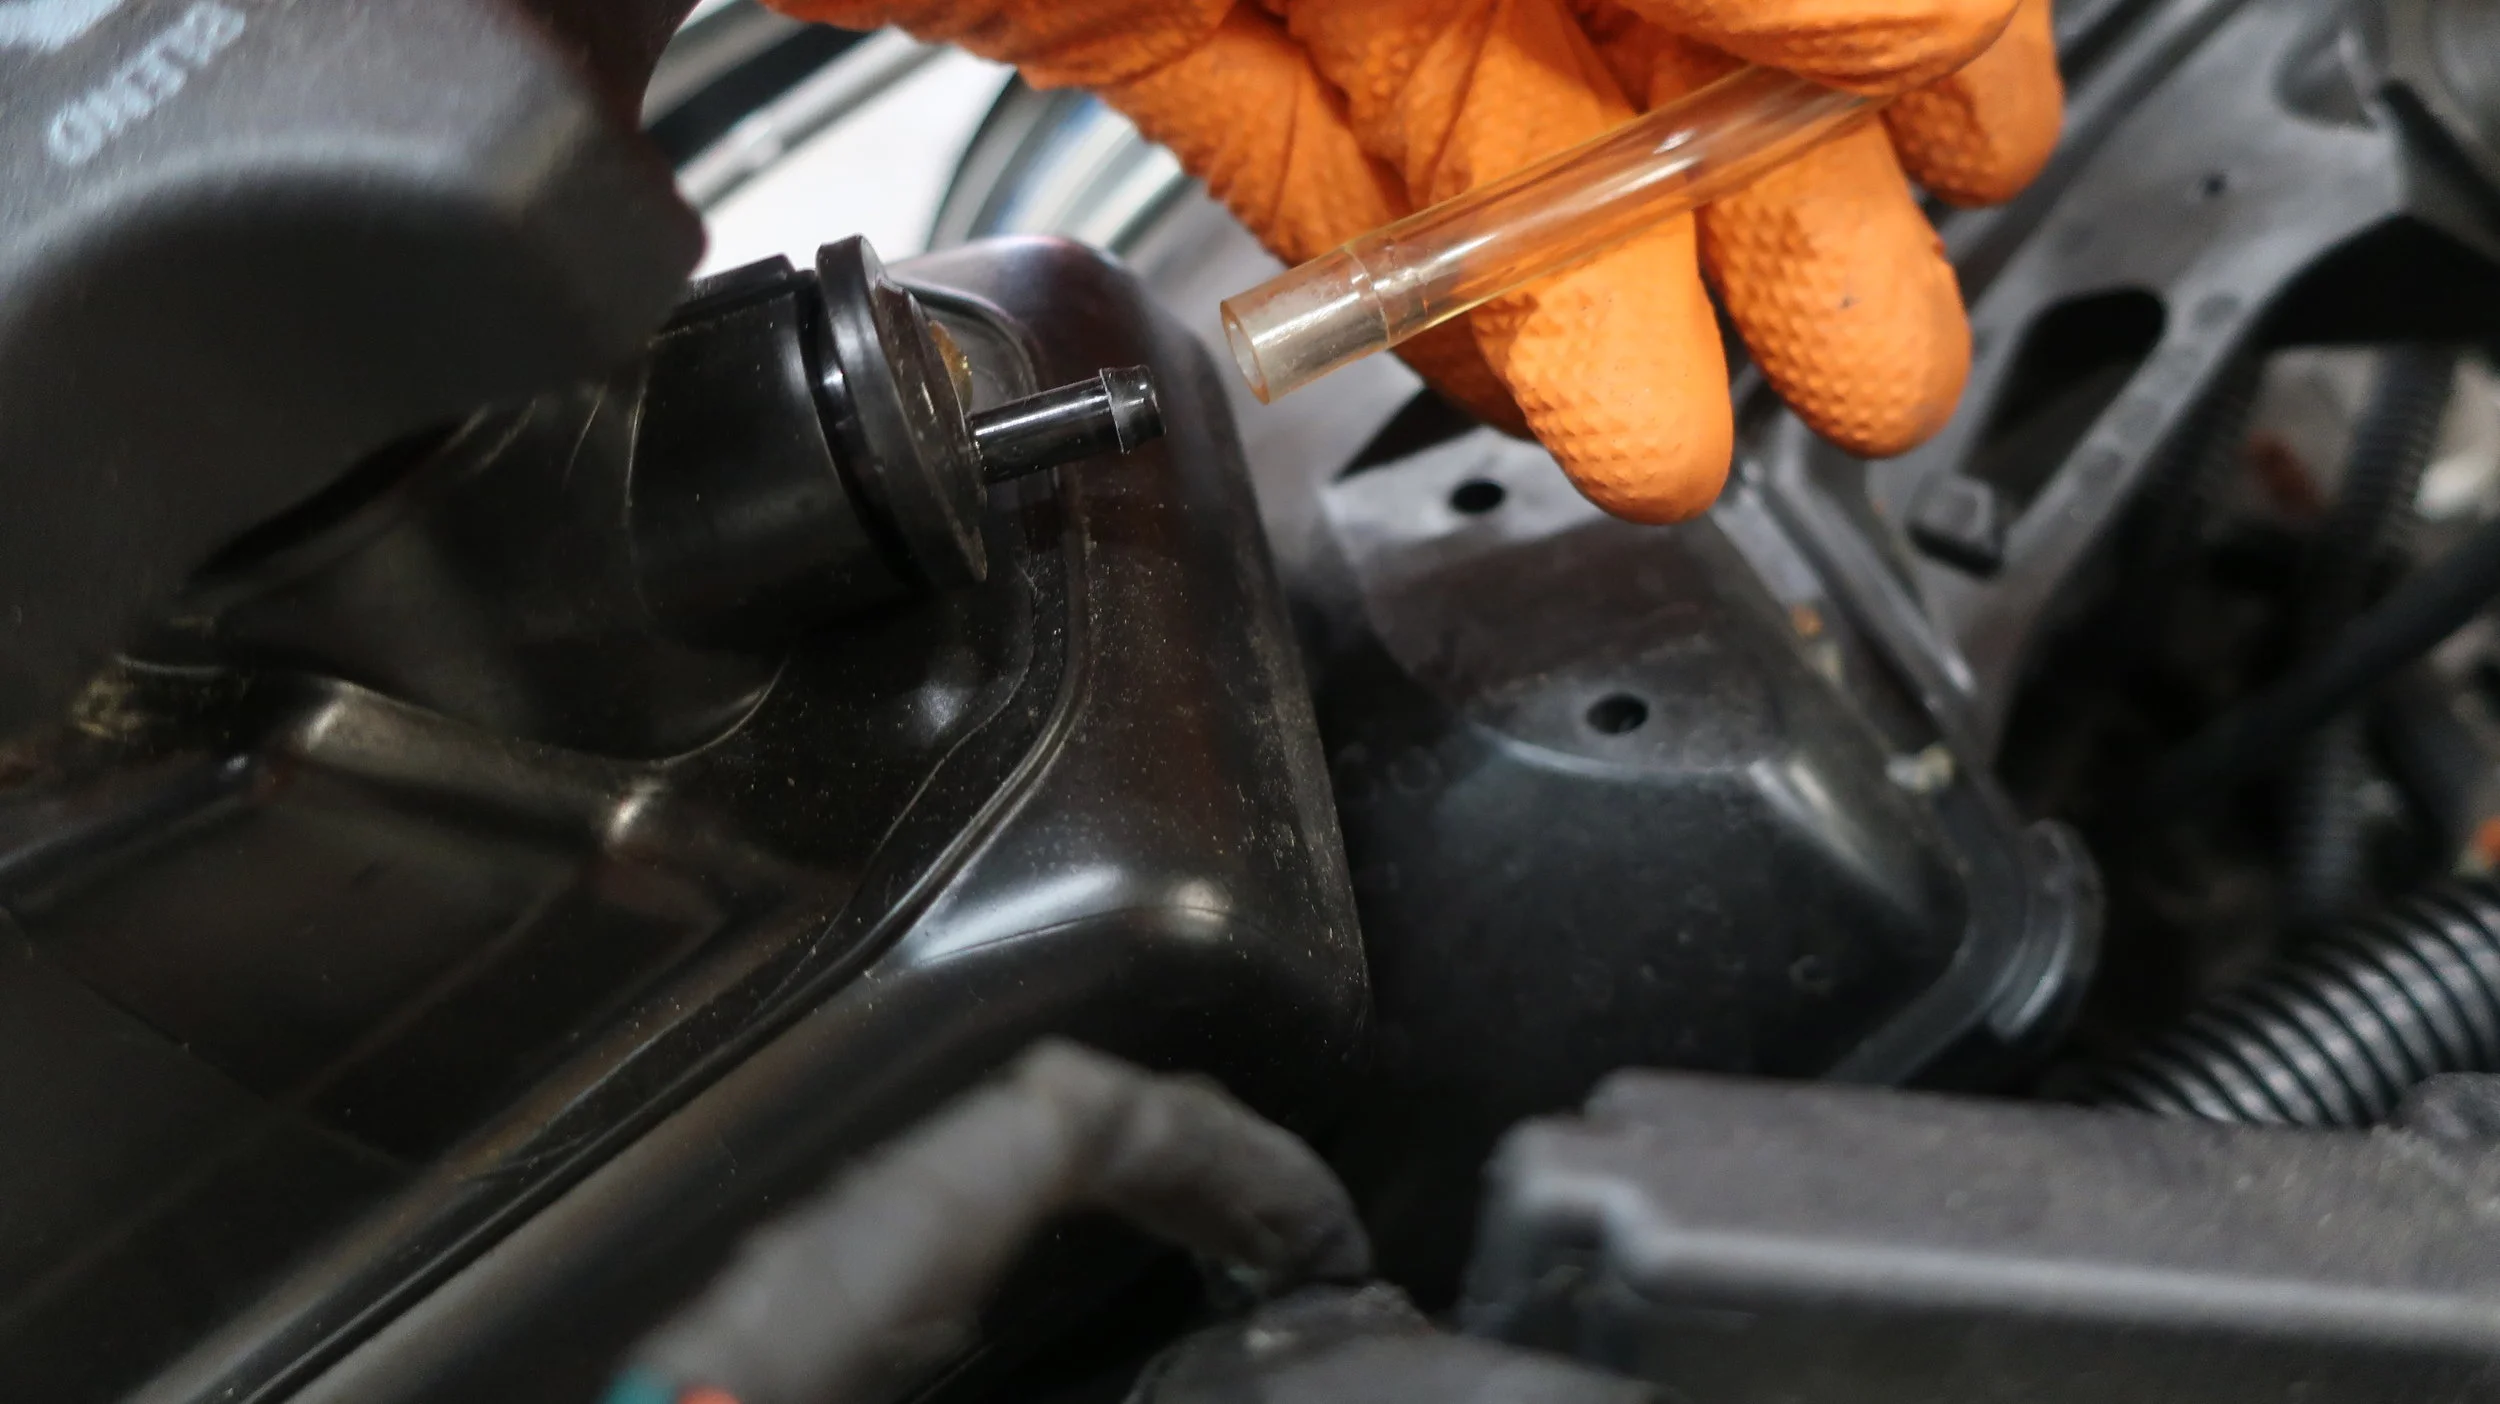
STEP 6: Disconnect Battery (e-Start with Battery Only)
IF your snowmobile is equipped with a battery and electric start (Not SHOT) and you have a battery on the back of your gas tank, see below. If you do not have a battery, skip to STEP 7
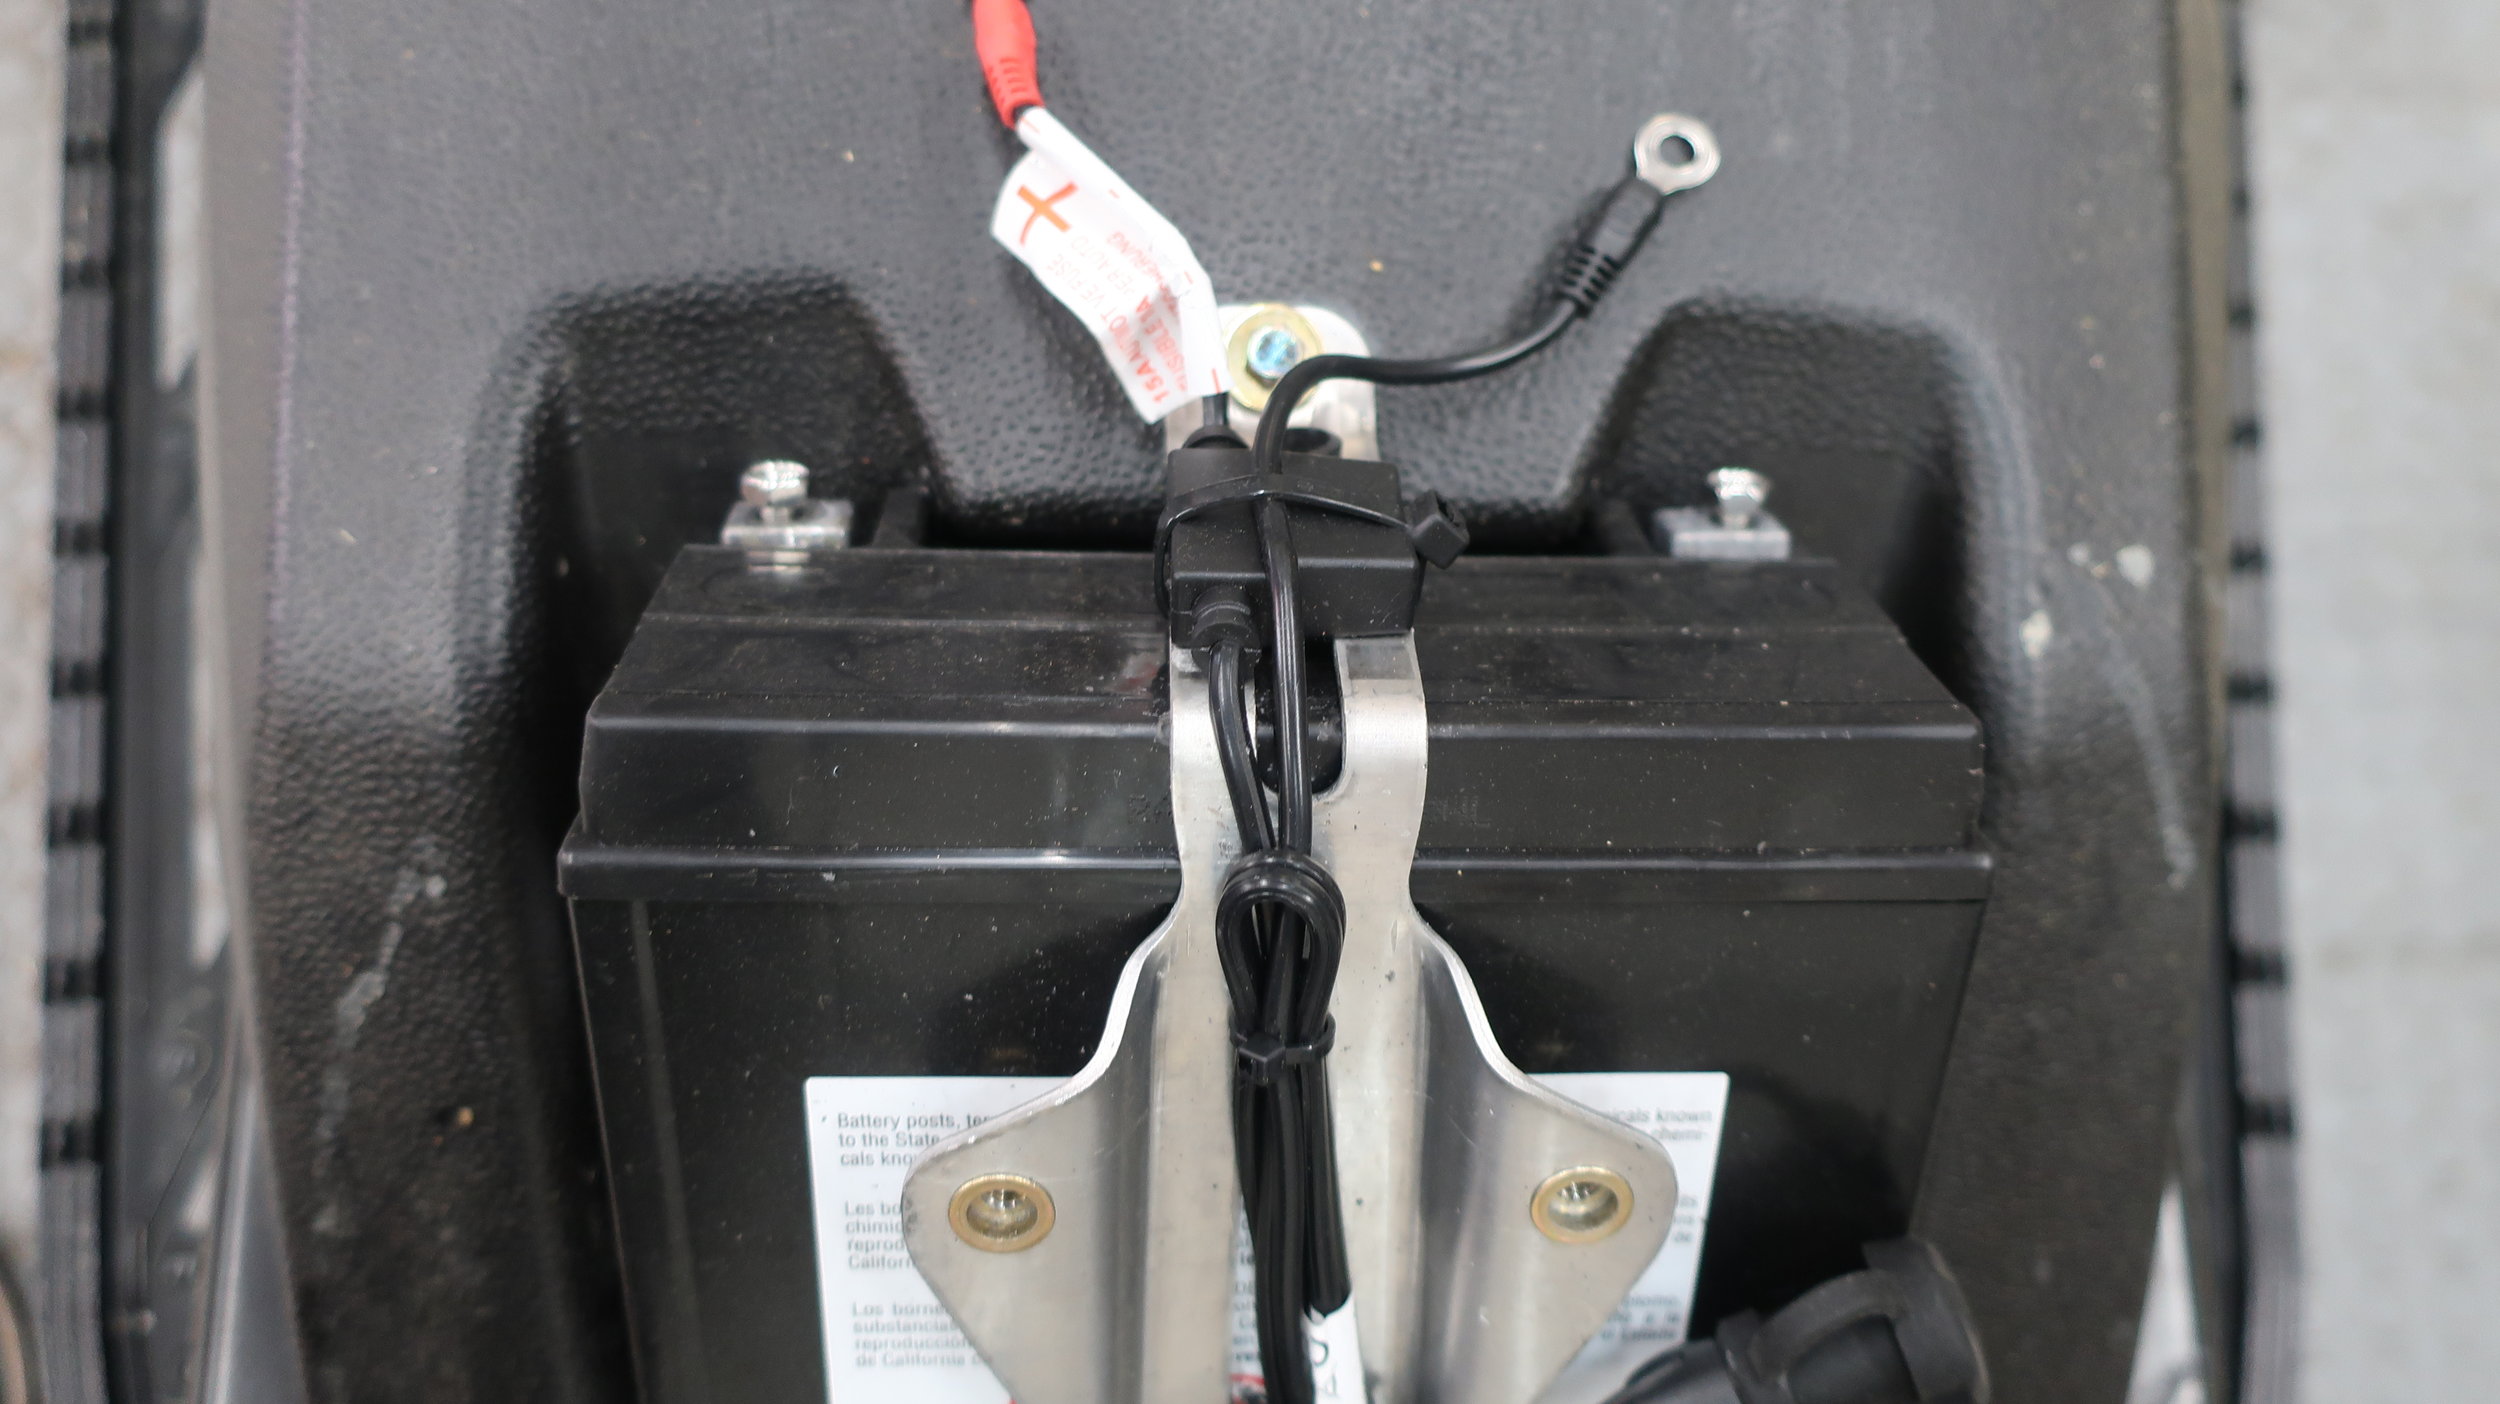
Remove battery cover at the rear of gas tank and disconnect battery wires from terminals

Step 7: Shift Gas Tank and Secure out of the way
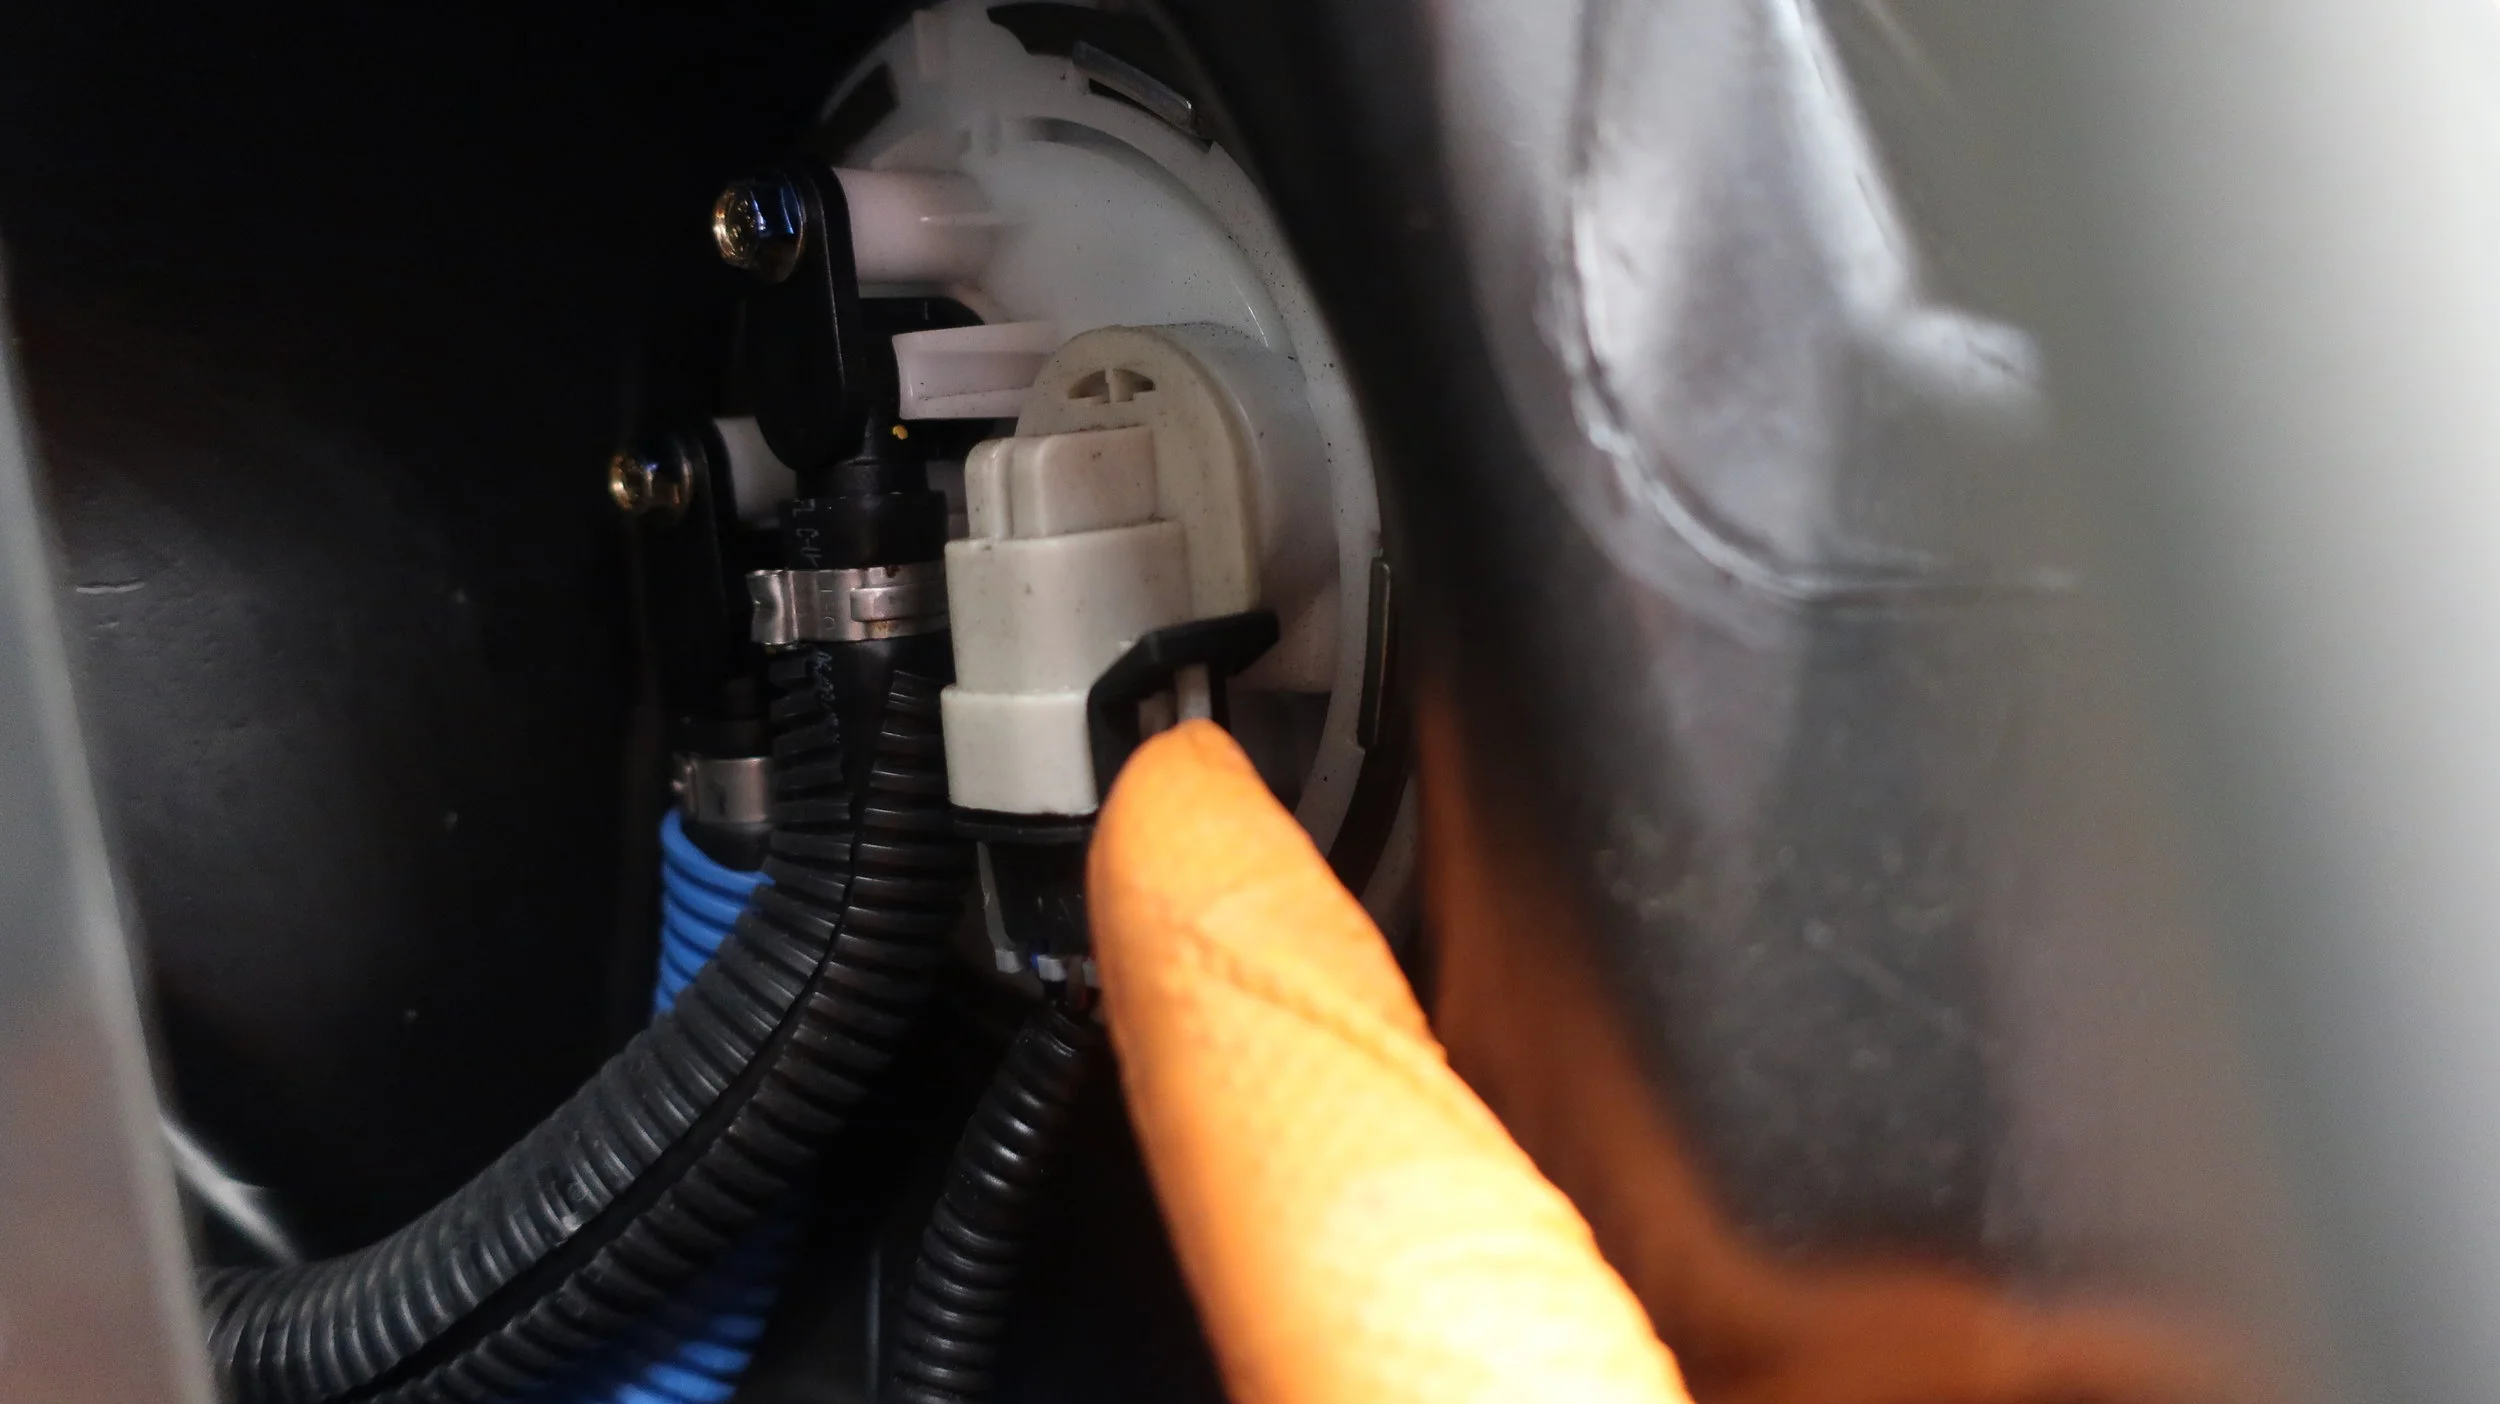
Gently slide the tank backwards and shift rear to the throttle side, now locate the electrical connection in the center of the tank and disconnect wiring
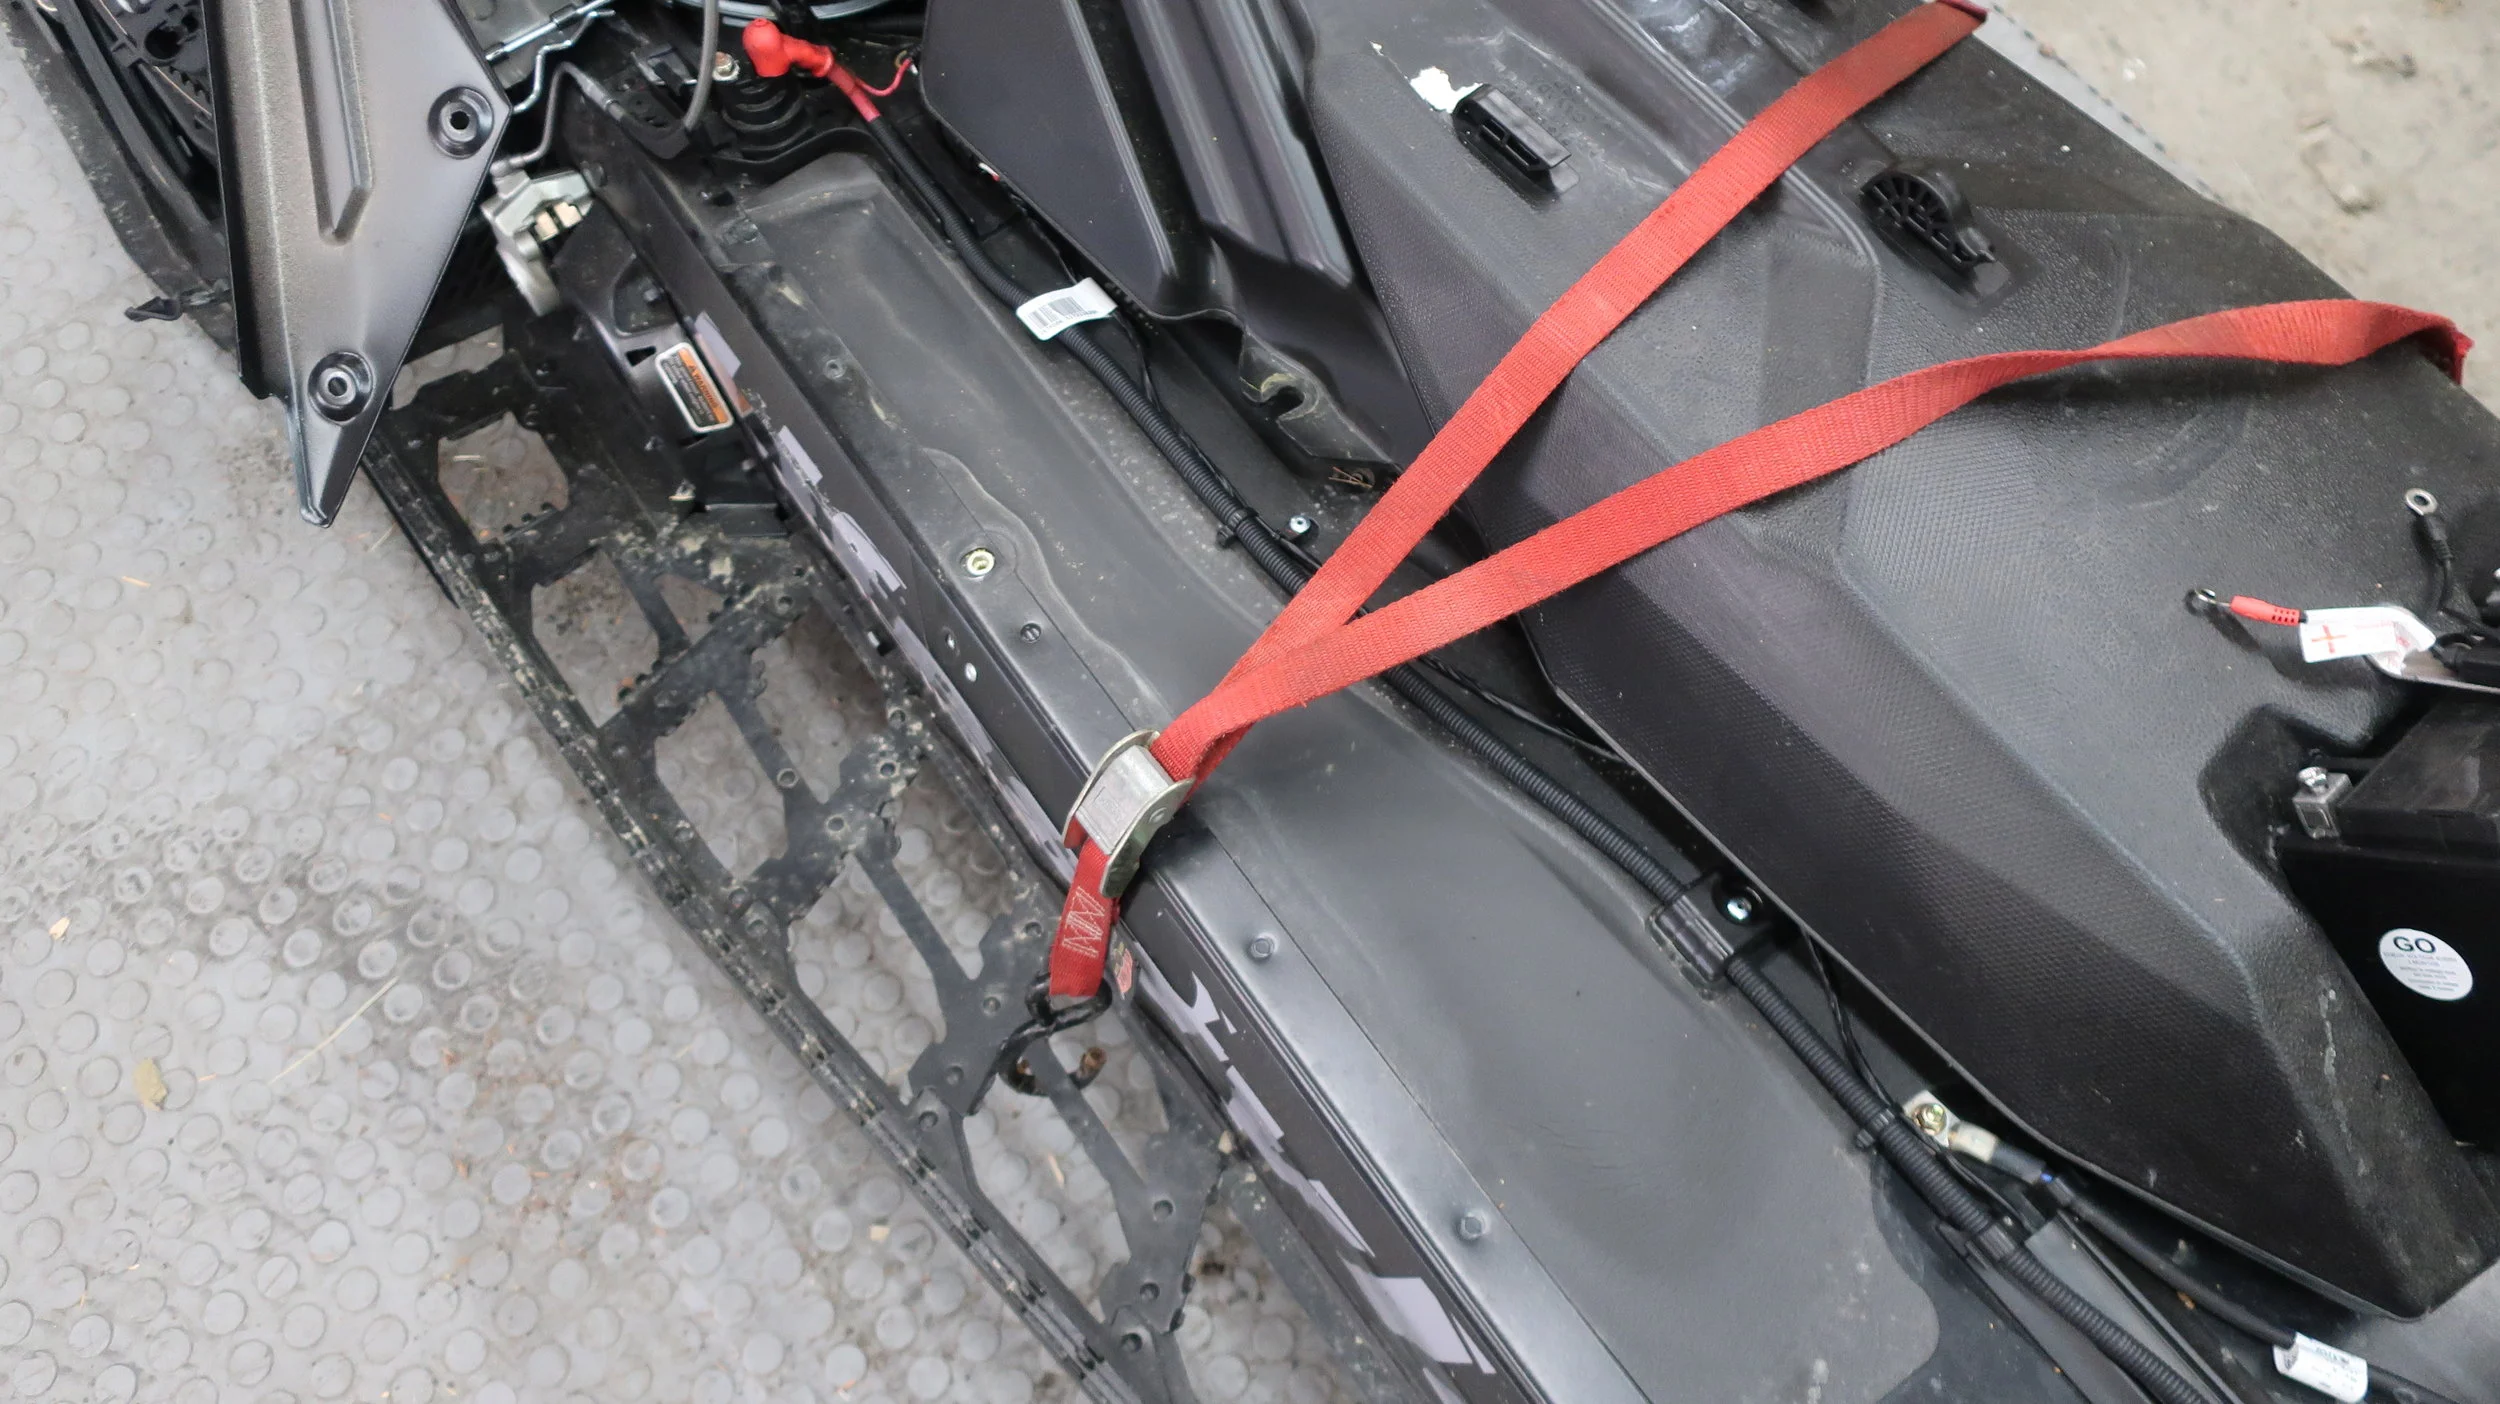
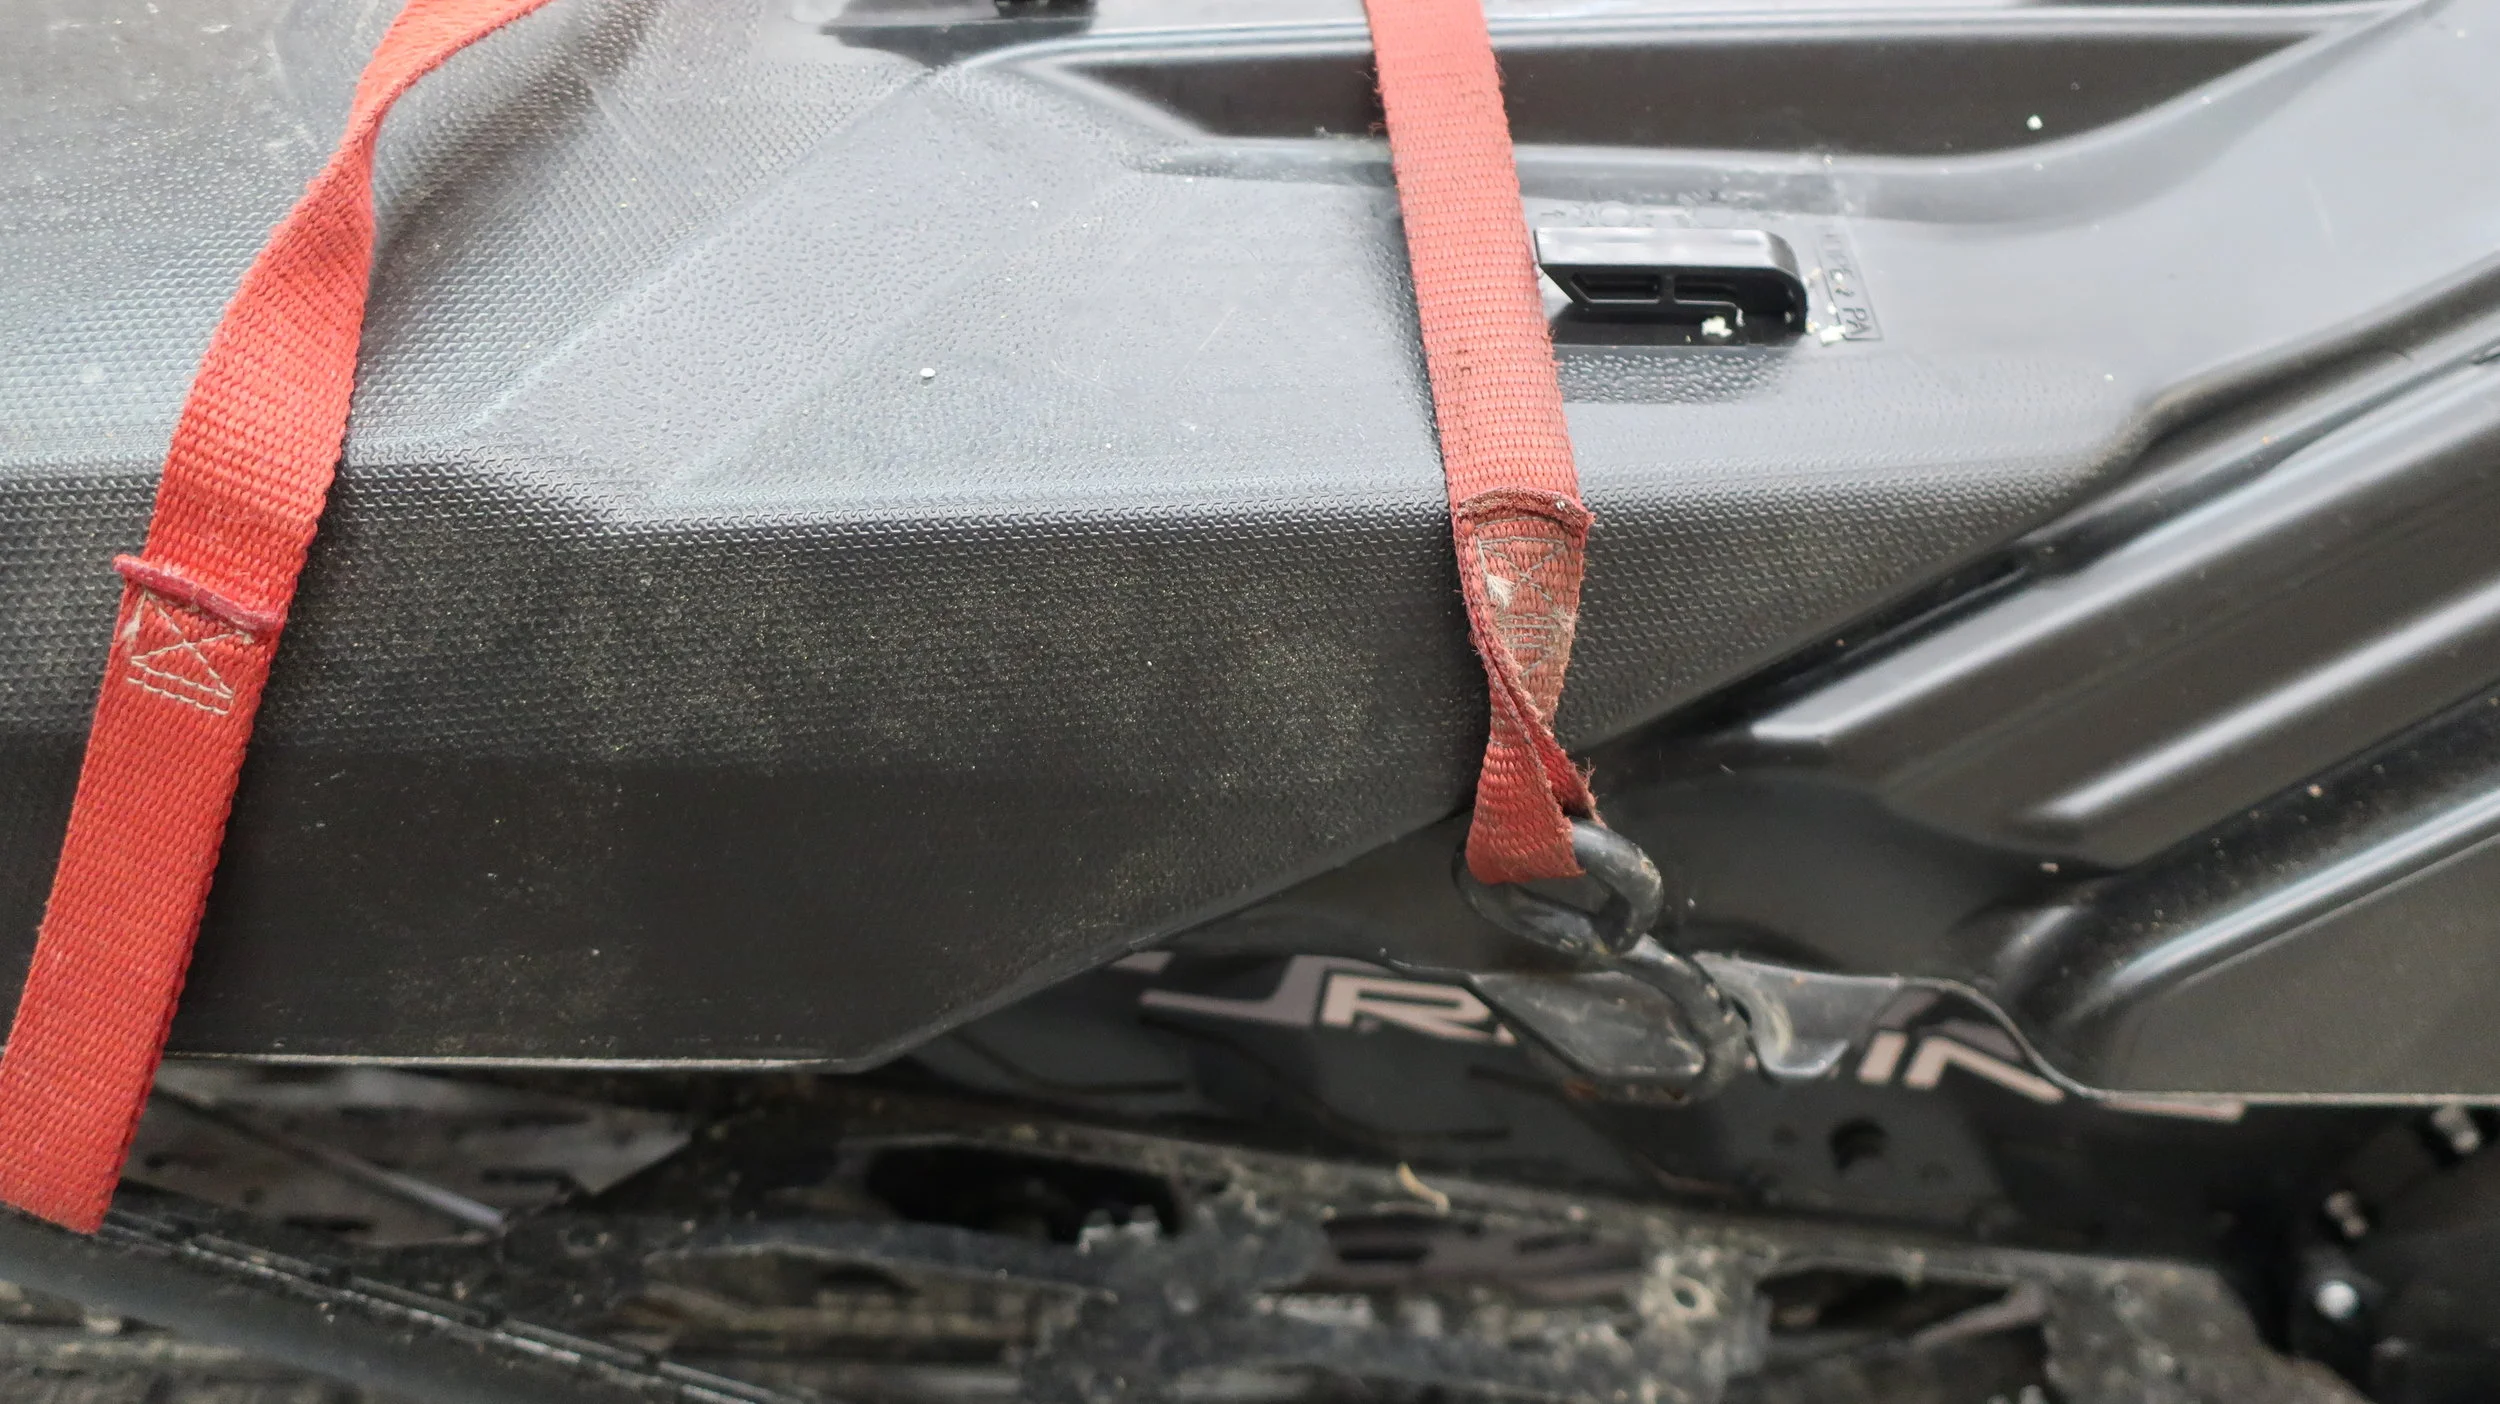
With electrical connection disconnected slide the tank backwards more and shift to the throttle side, safely securing out of the way with a strap.
Step 8: Route the power wire
Locate the under tank wire and find the end labeled ‘Toward Hood’ and lay across existing wire run
Locate plastic wire guide and bend up the throttle side a few times, incrementally higher to get the plastic to flex enough. You will slip the wire between the gap for routing
IF you have a rivet gun and you prefer to drill out the rivet you can, but not necessary. Of course you’ll want to replace the rivet after
With wire in place, re-seat the plastic back into tab
DO NOT OVER Bend, Work Slow
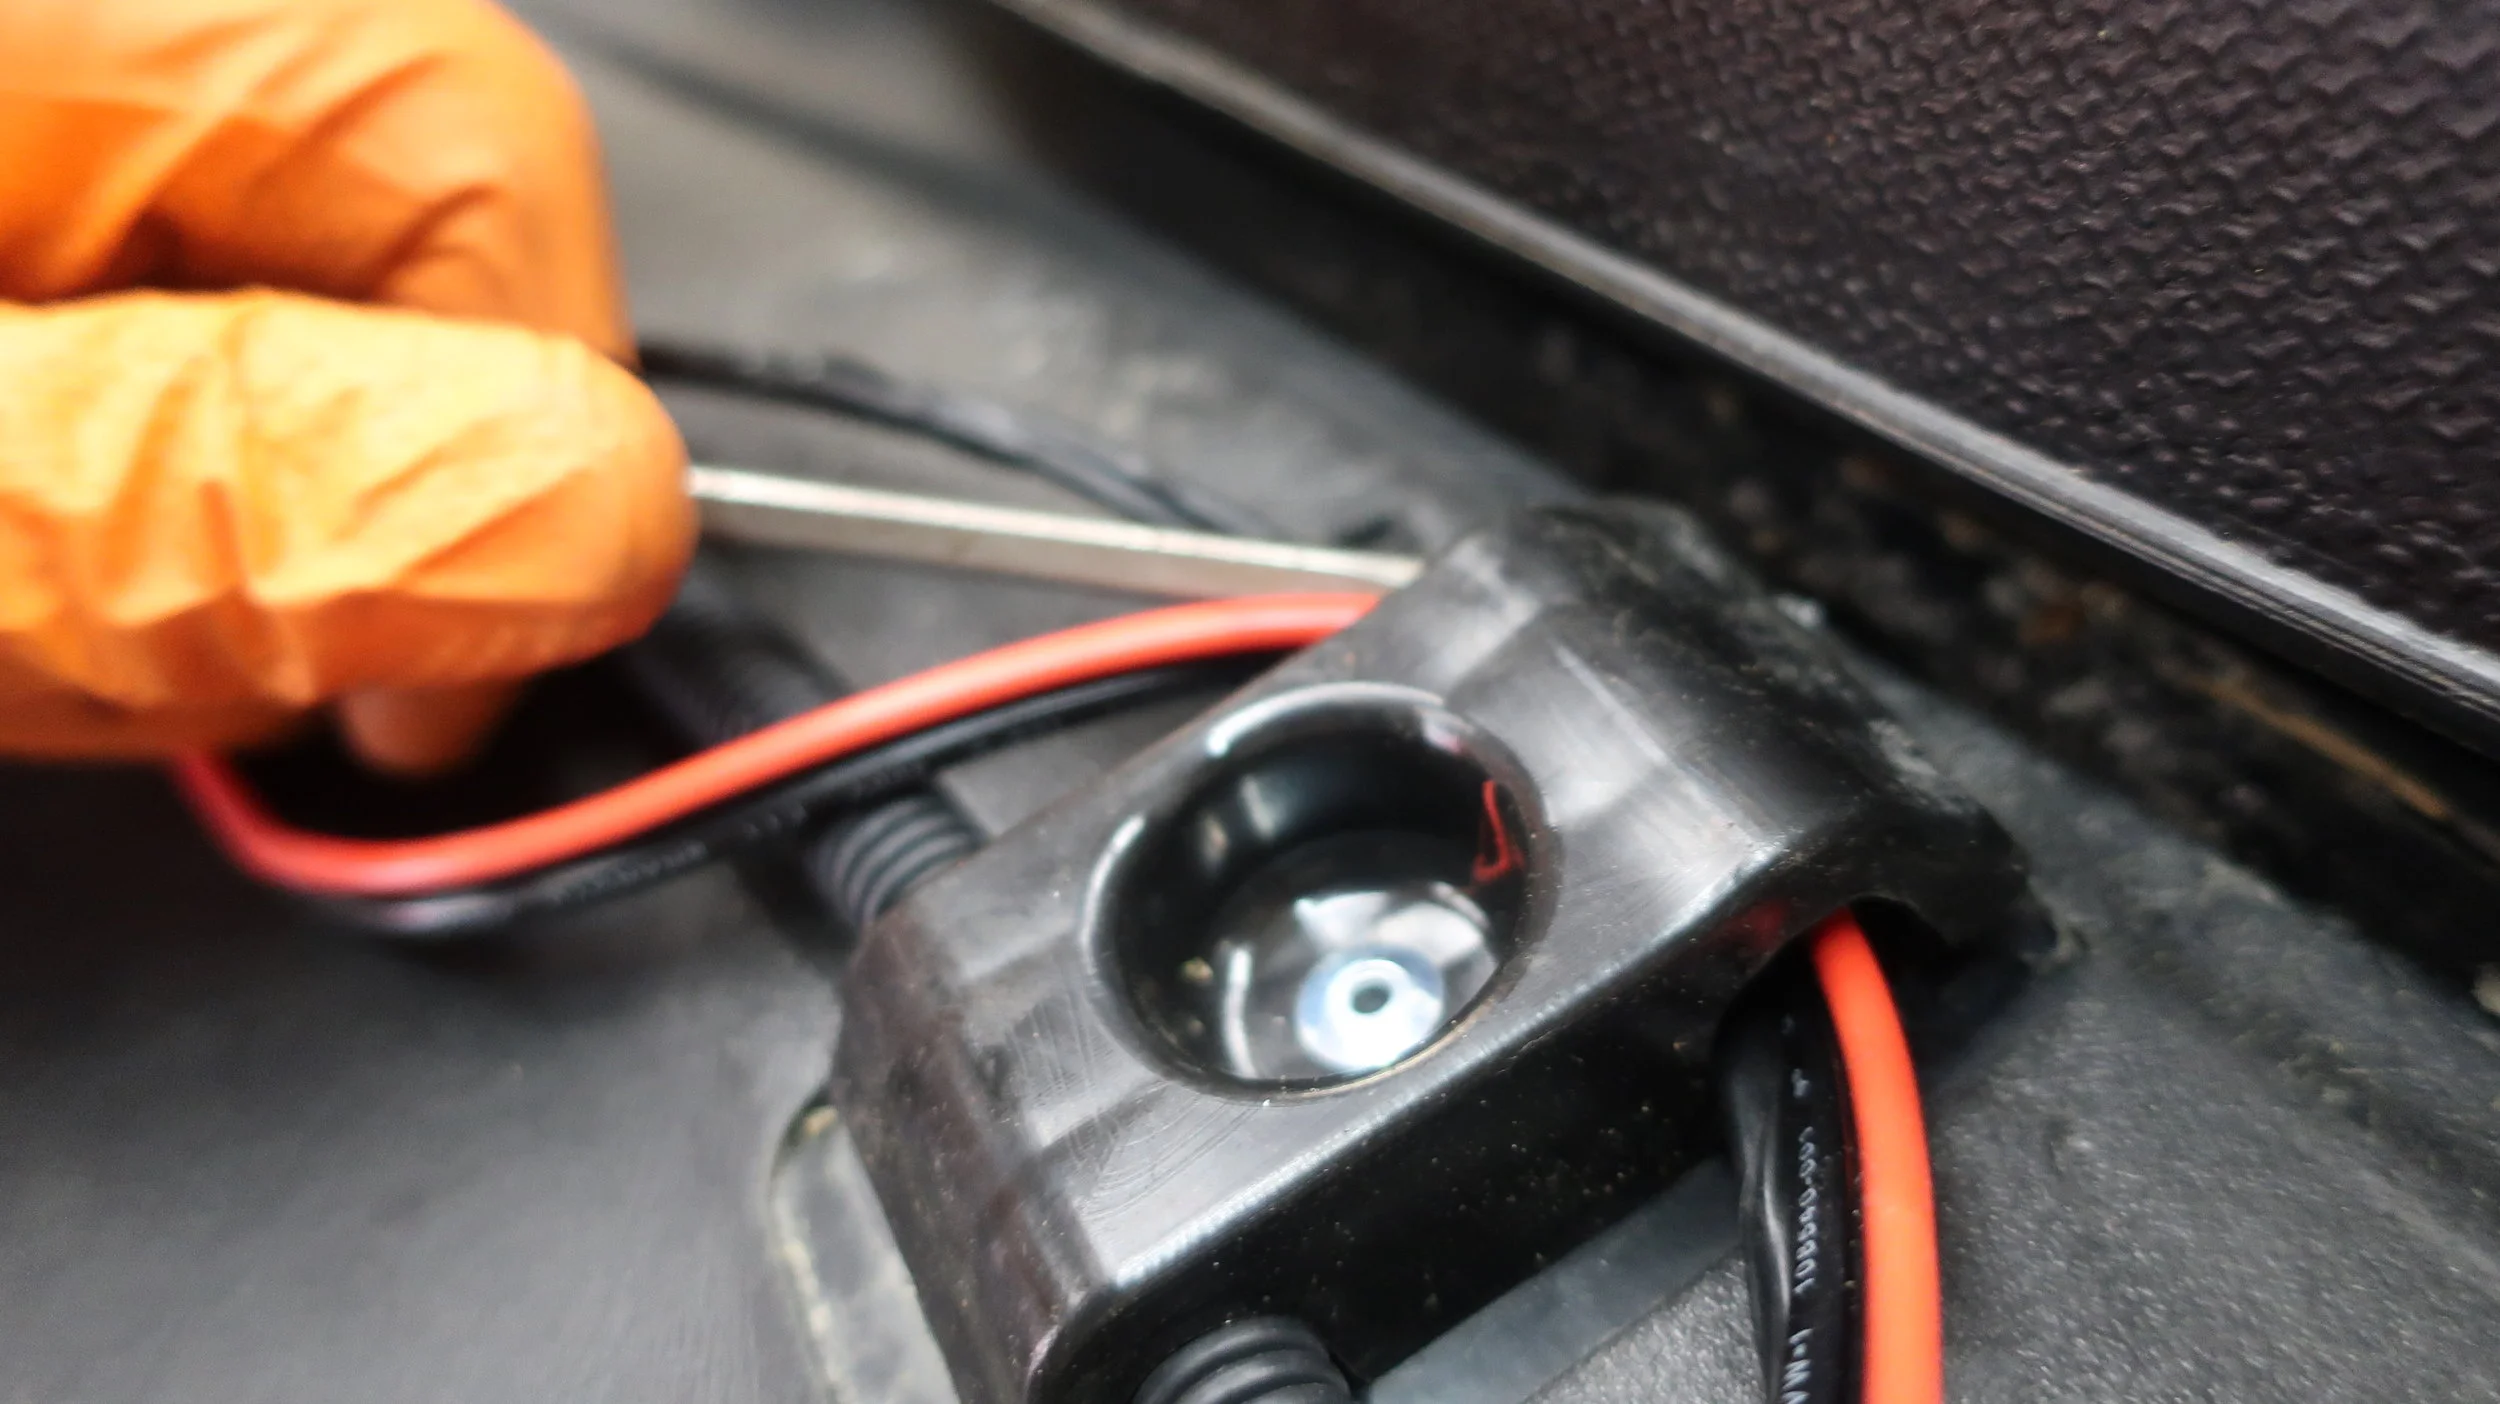
Step 9: Routing Wires to the Hood and Bag
At the rear of the sled, locate the start of the tail light channel on the tunnel and ensure the wire is sticking past with enough revel. Zip tie to clip located on tail light wire channel once reveal has been set.
Non-Battery Equipped: 5”
Battery Equipped: 8“
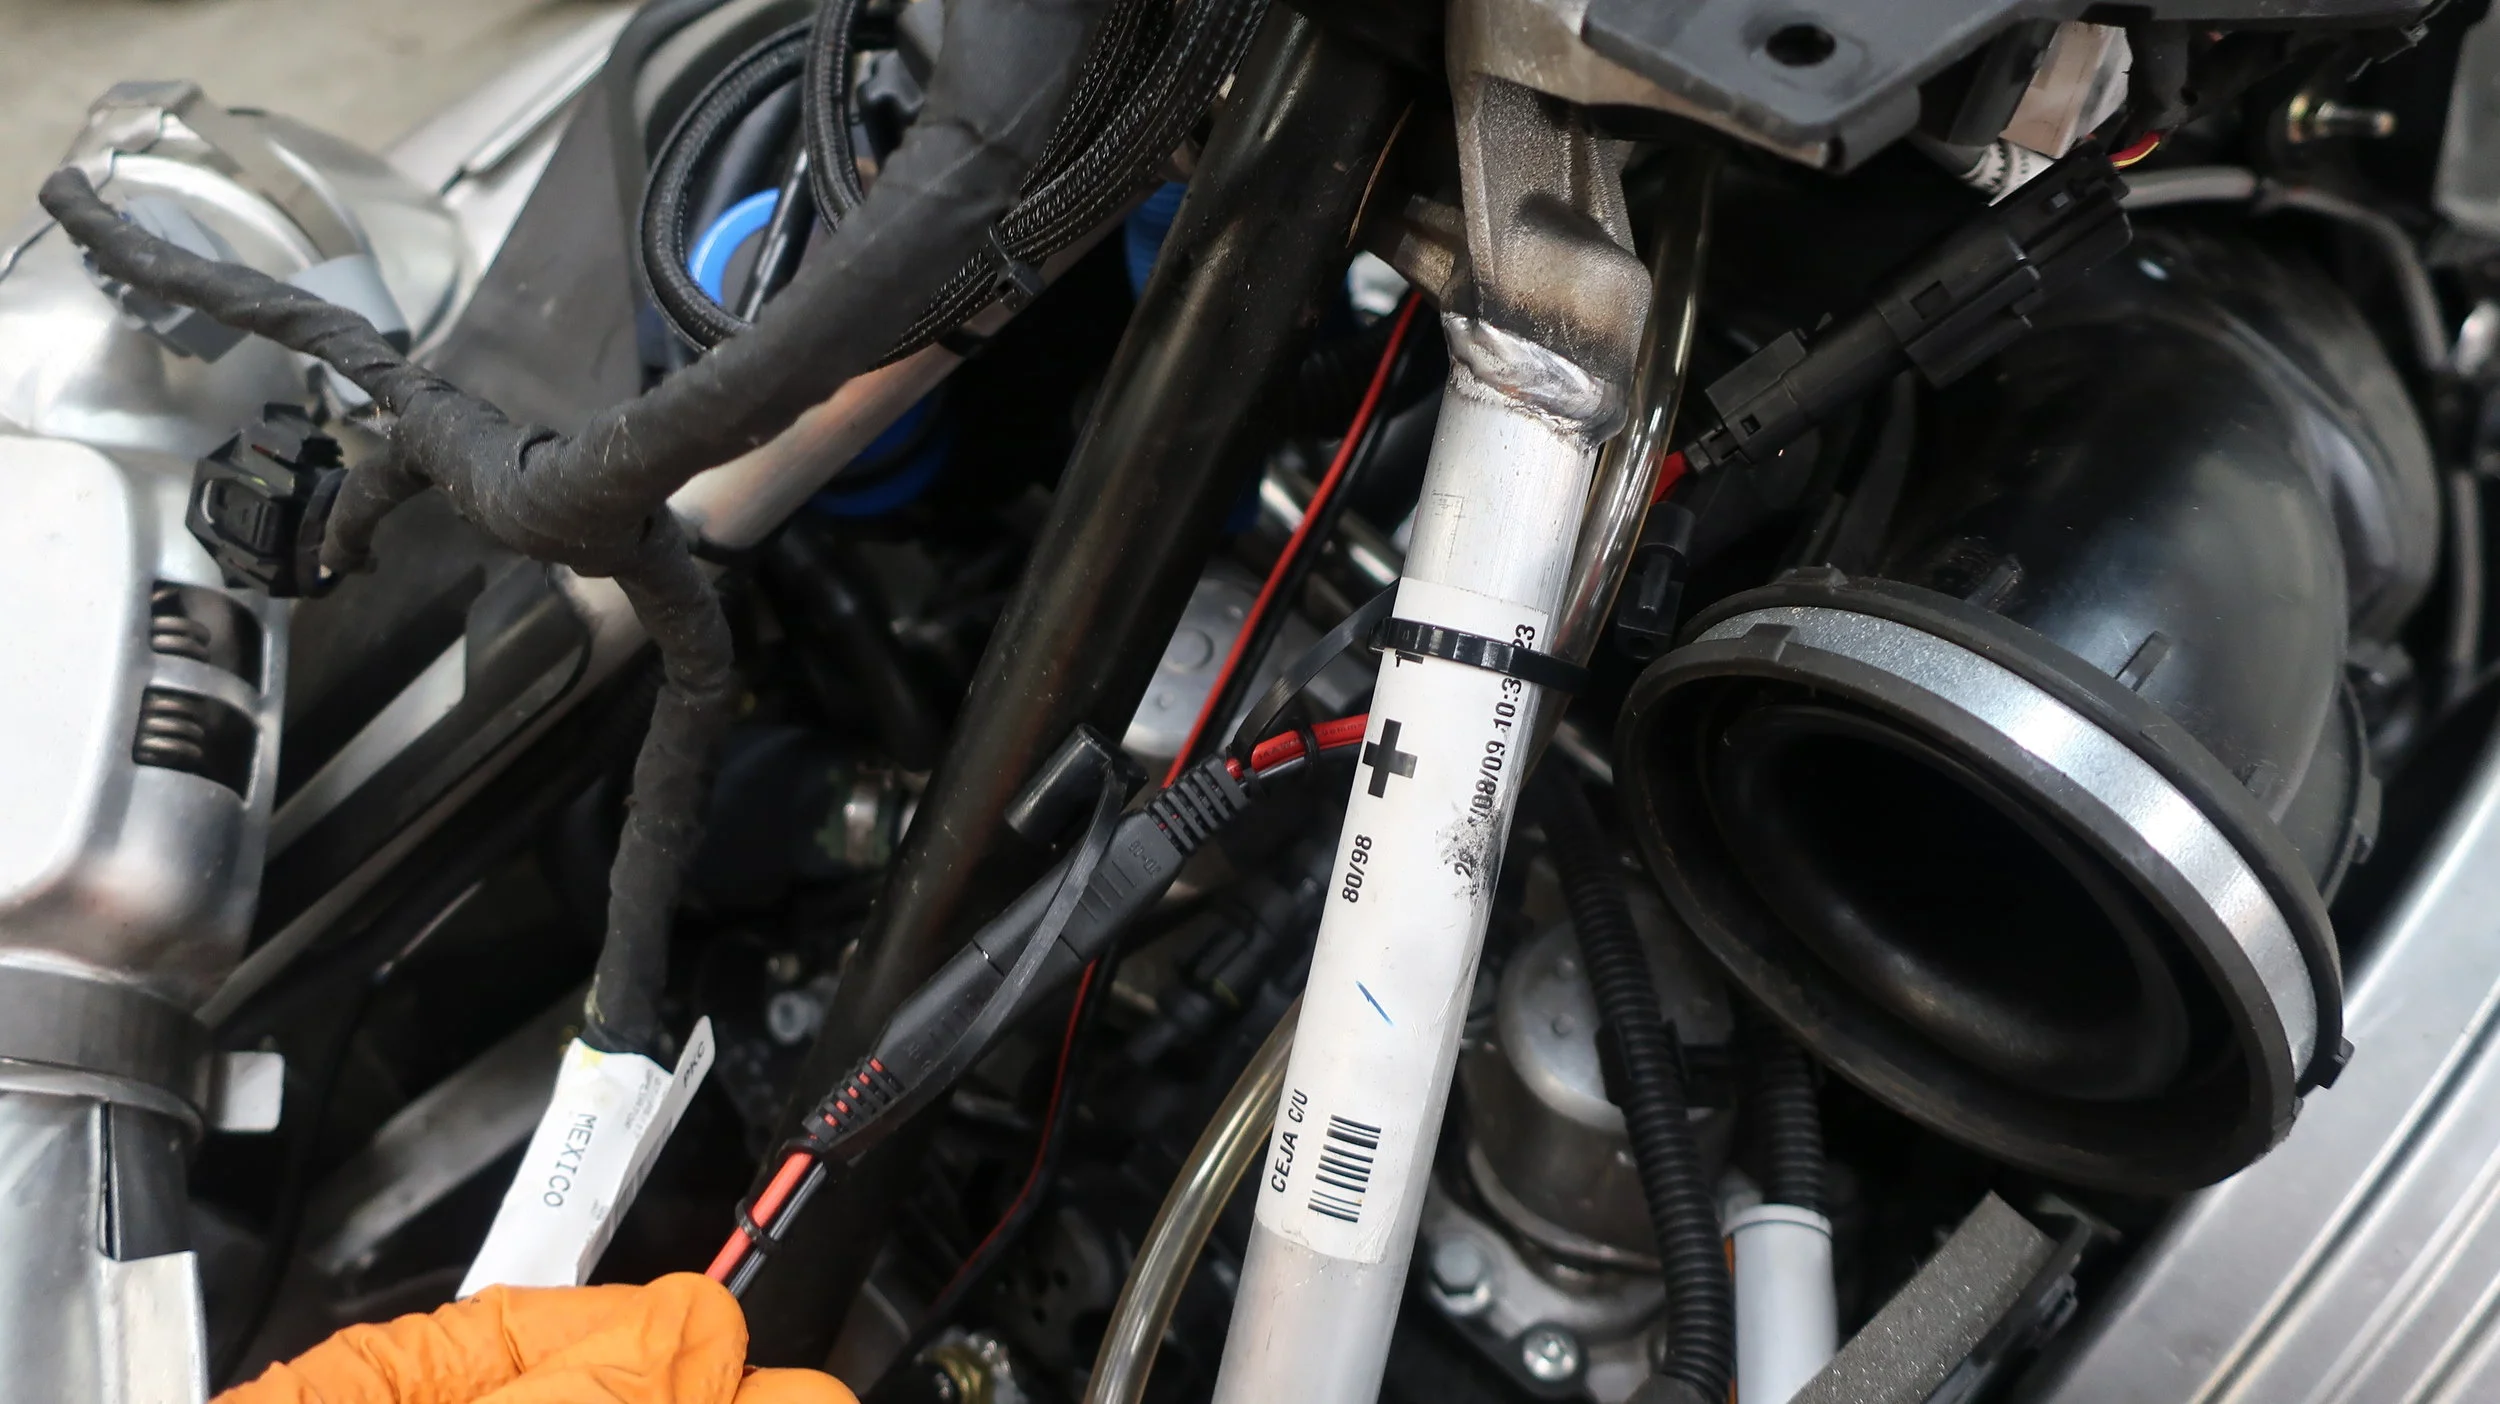
Run the Under Tank Wire towards the hood on the left of the tail light wire and tail light connection, then around the right side of the airbox and follow existing factory wiring run, leaving excess wire in the engine area toward the clutch side of steering tube.
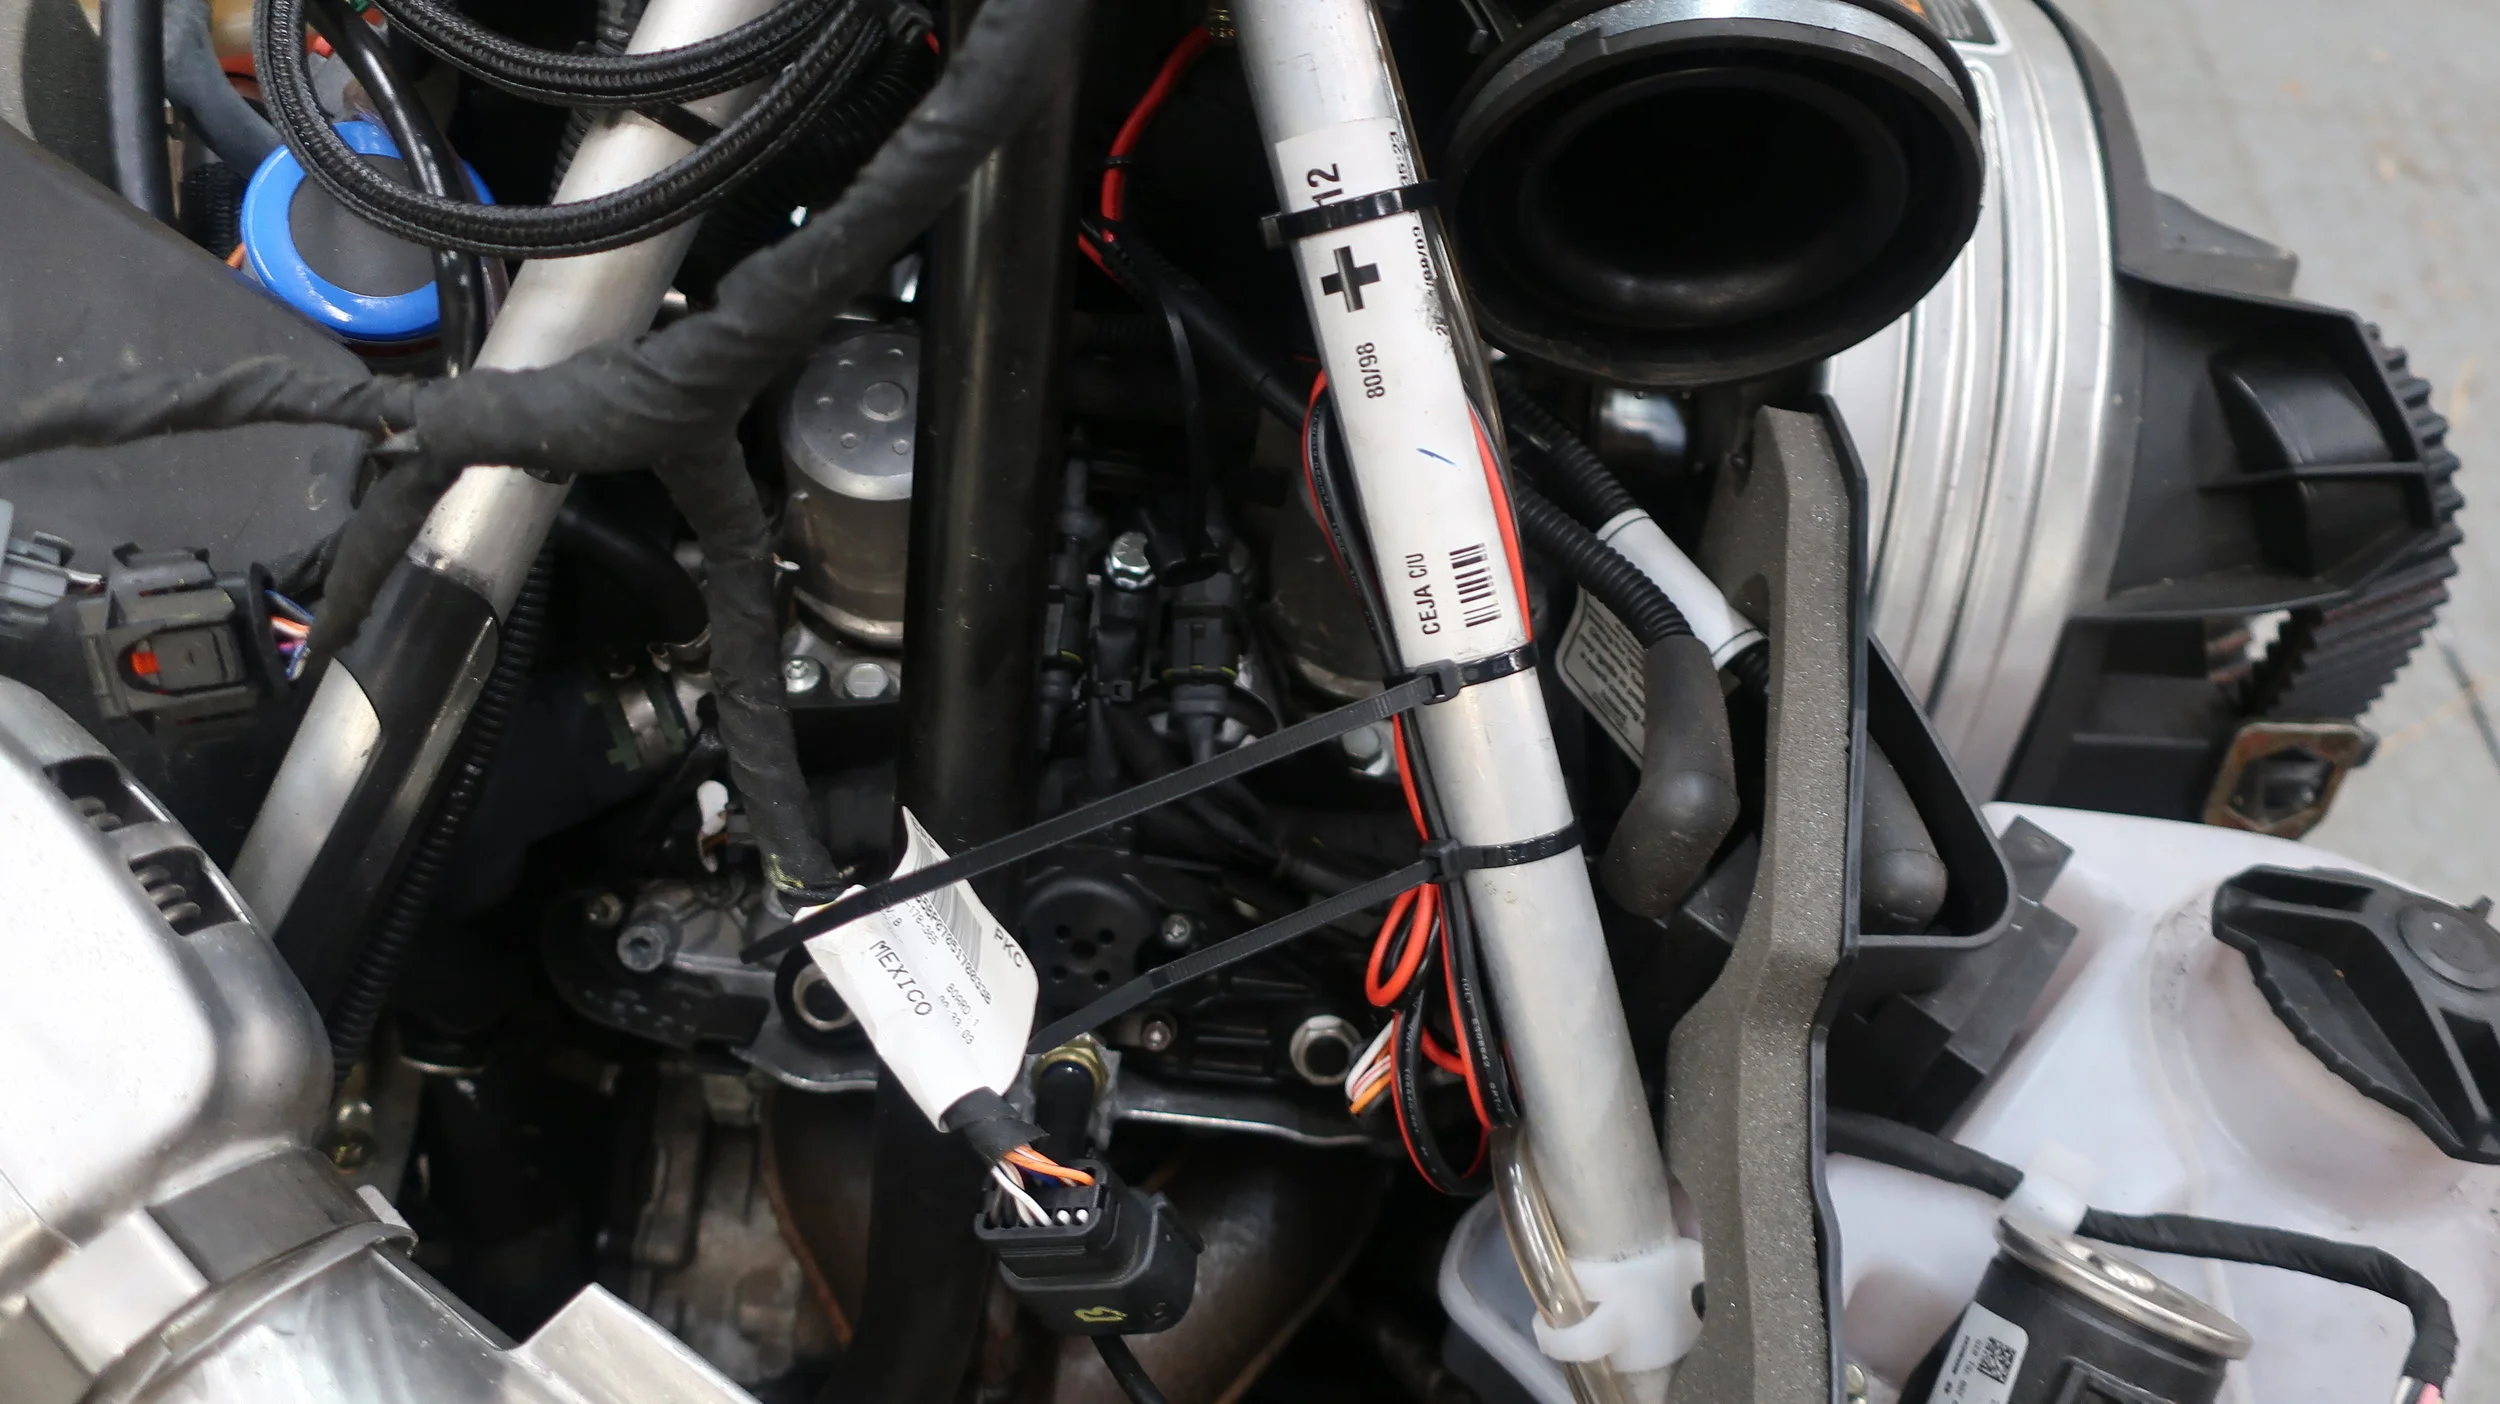
With appropriate wire length set at the tail light channel, begin securing the Under Tank Wire with zip ties to existing factory wiring or wiring mounts; 4 additional zip ties should be plenty. Consult photos for directions.


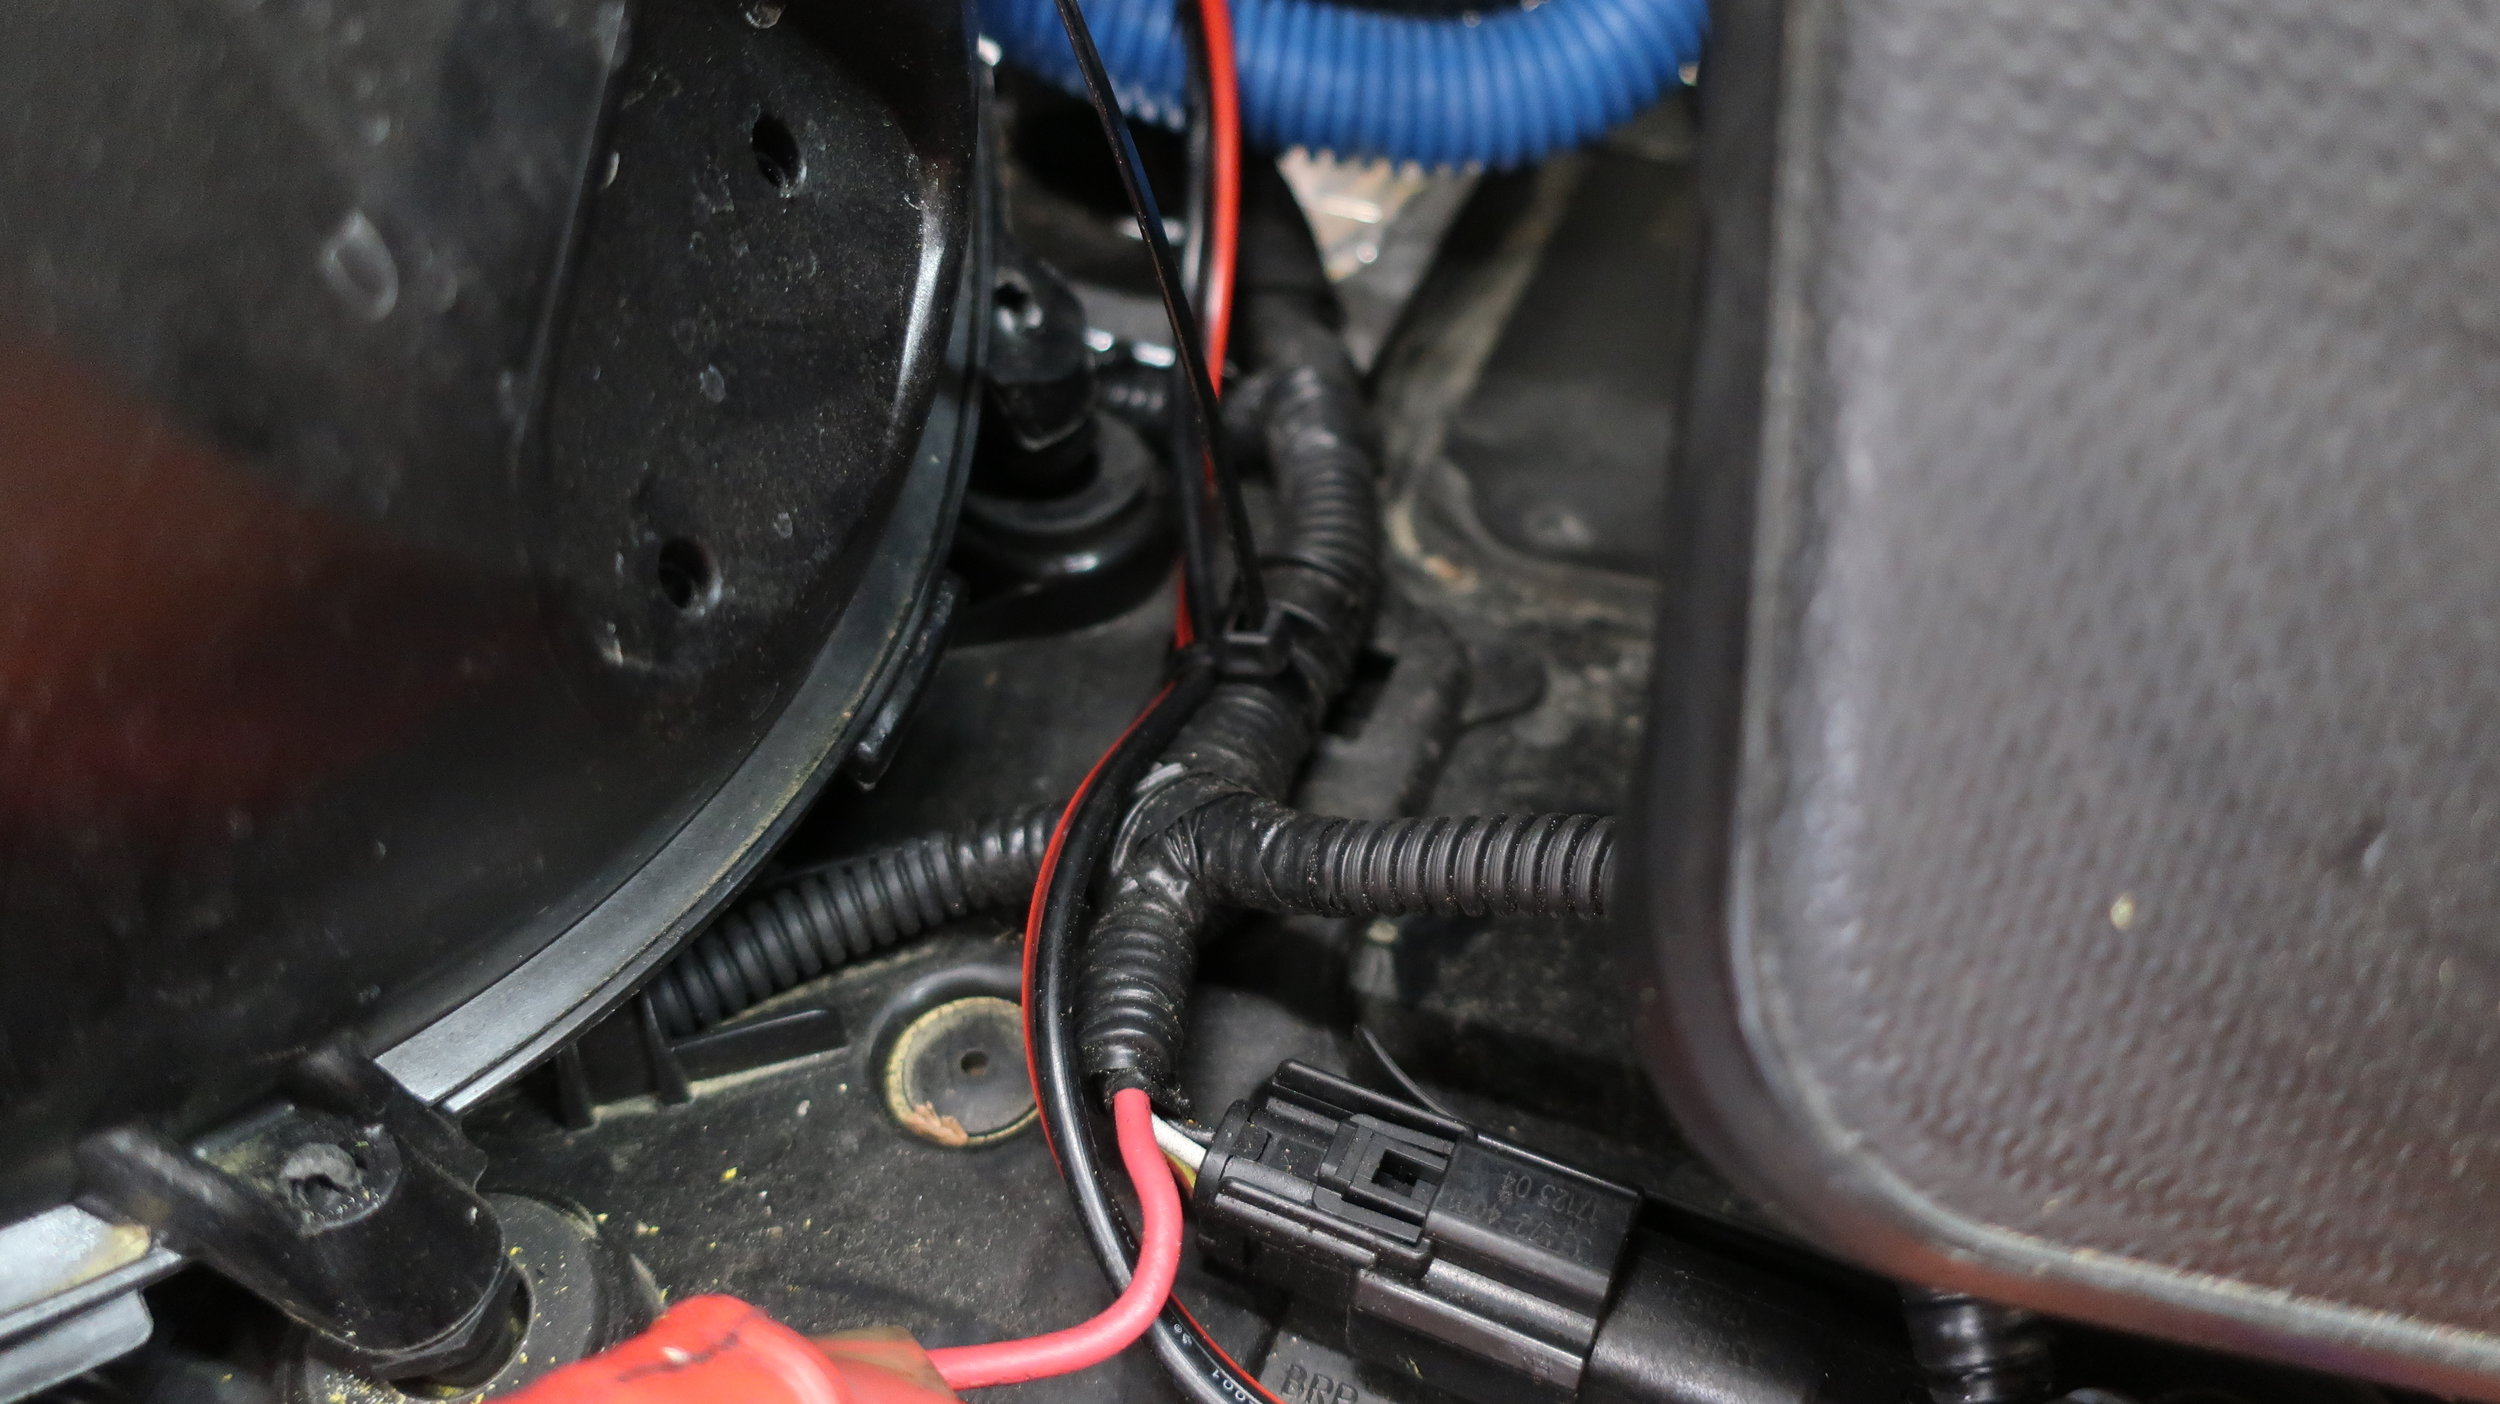


Step 10: Assemble Tank, Pyramidial Frame, and Console
Connect the electrical wire back to the front of the tank
Re-attach tank to the snowmobile tunnel with 10 mm bolts and connect breather tube
Loosely assemble all fasteners of Pyramidial Frame
With Pyramidial Frame back in place tighten all fasteners
Remove gas cap and re-install Console, and respective electrical wires starting on the throttle side. Snap in rear console on Pyramidial Frame and reinstall gas tank collar.
Step 11: Connect Power and securE excess Wire
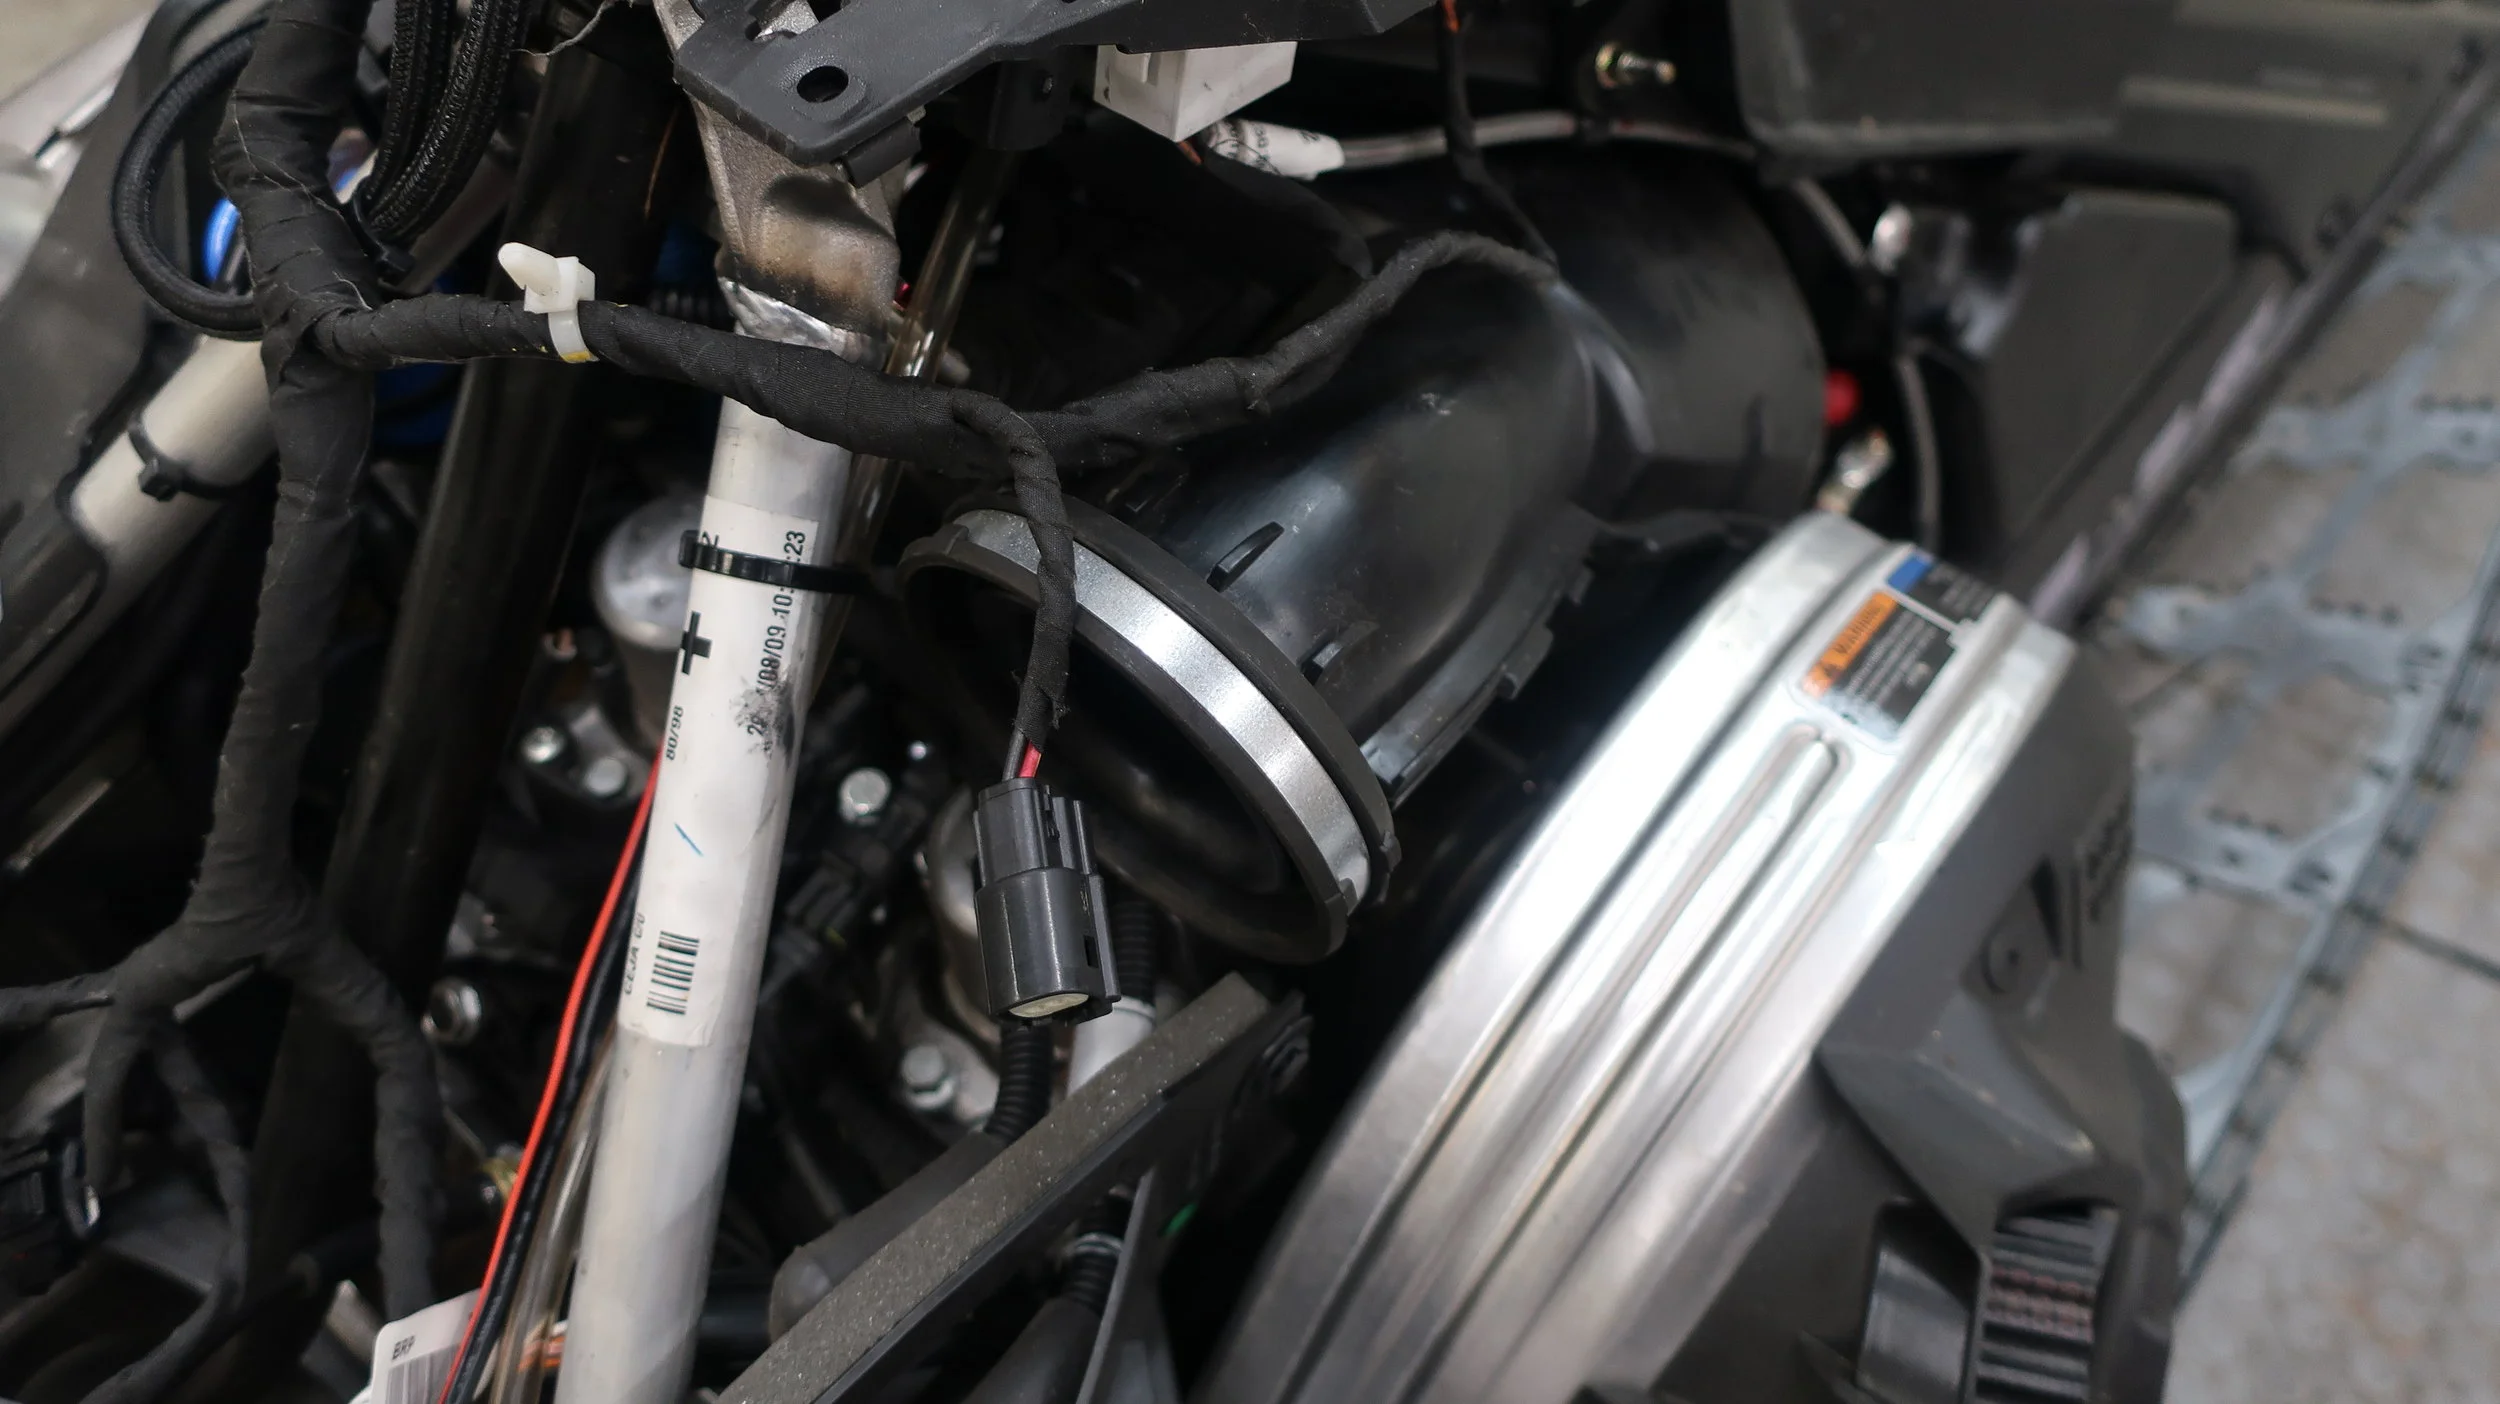
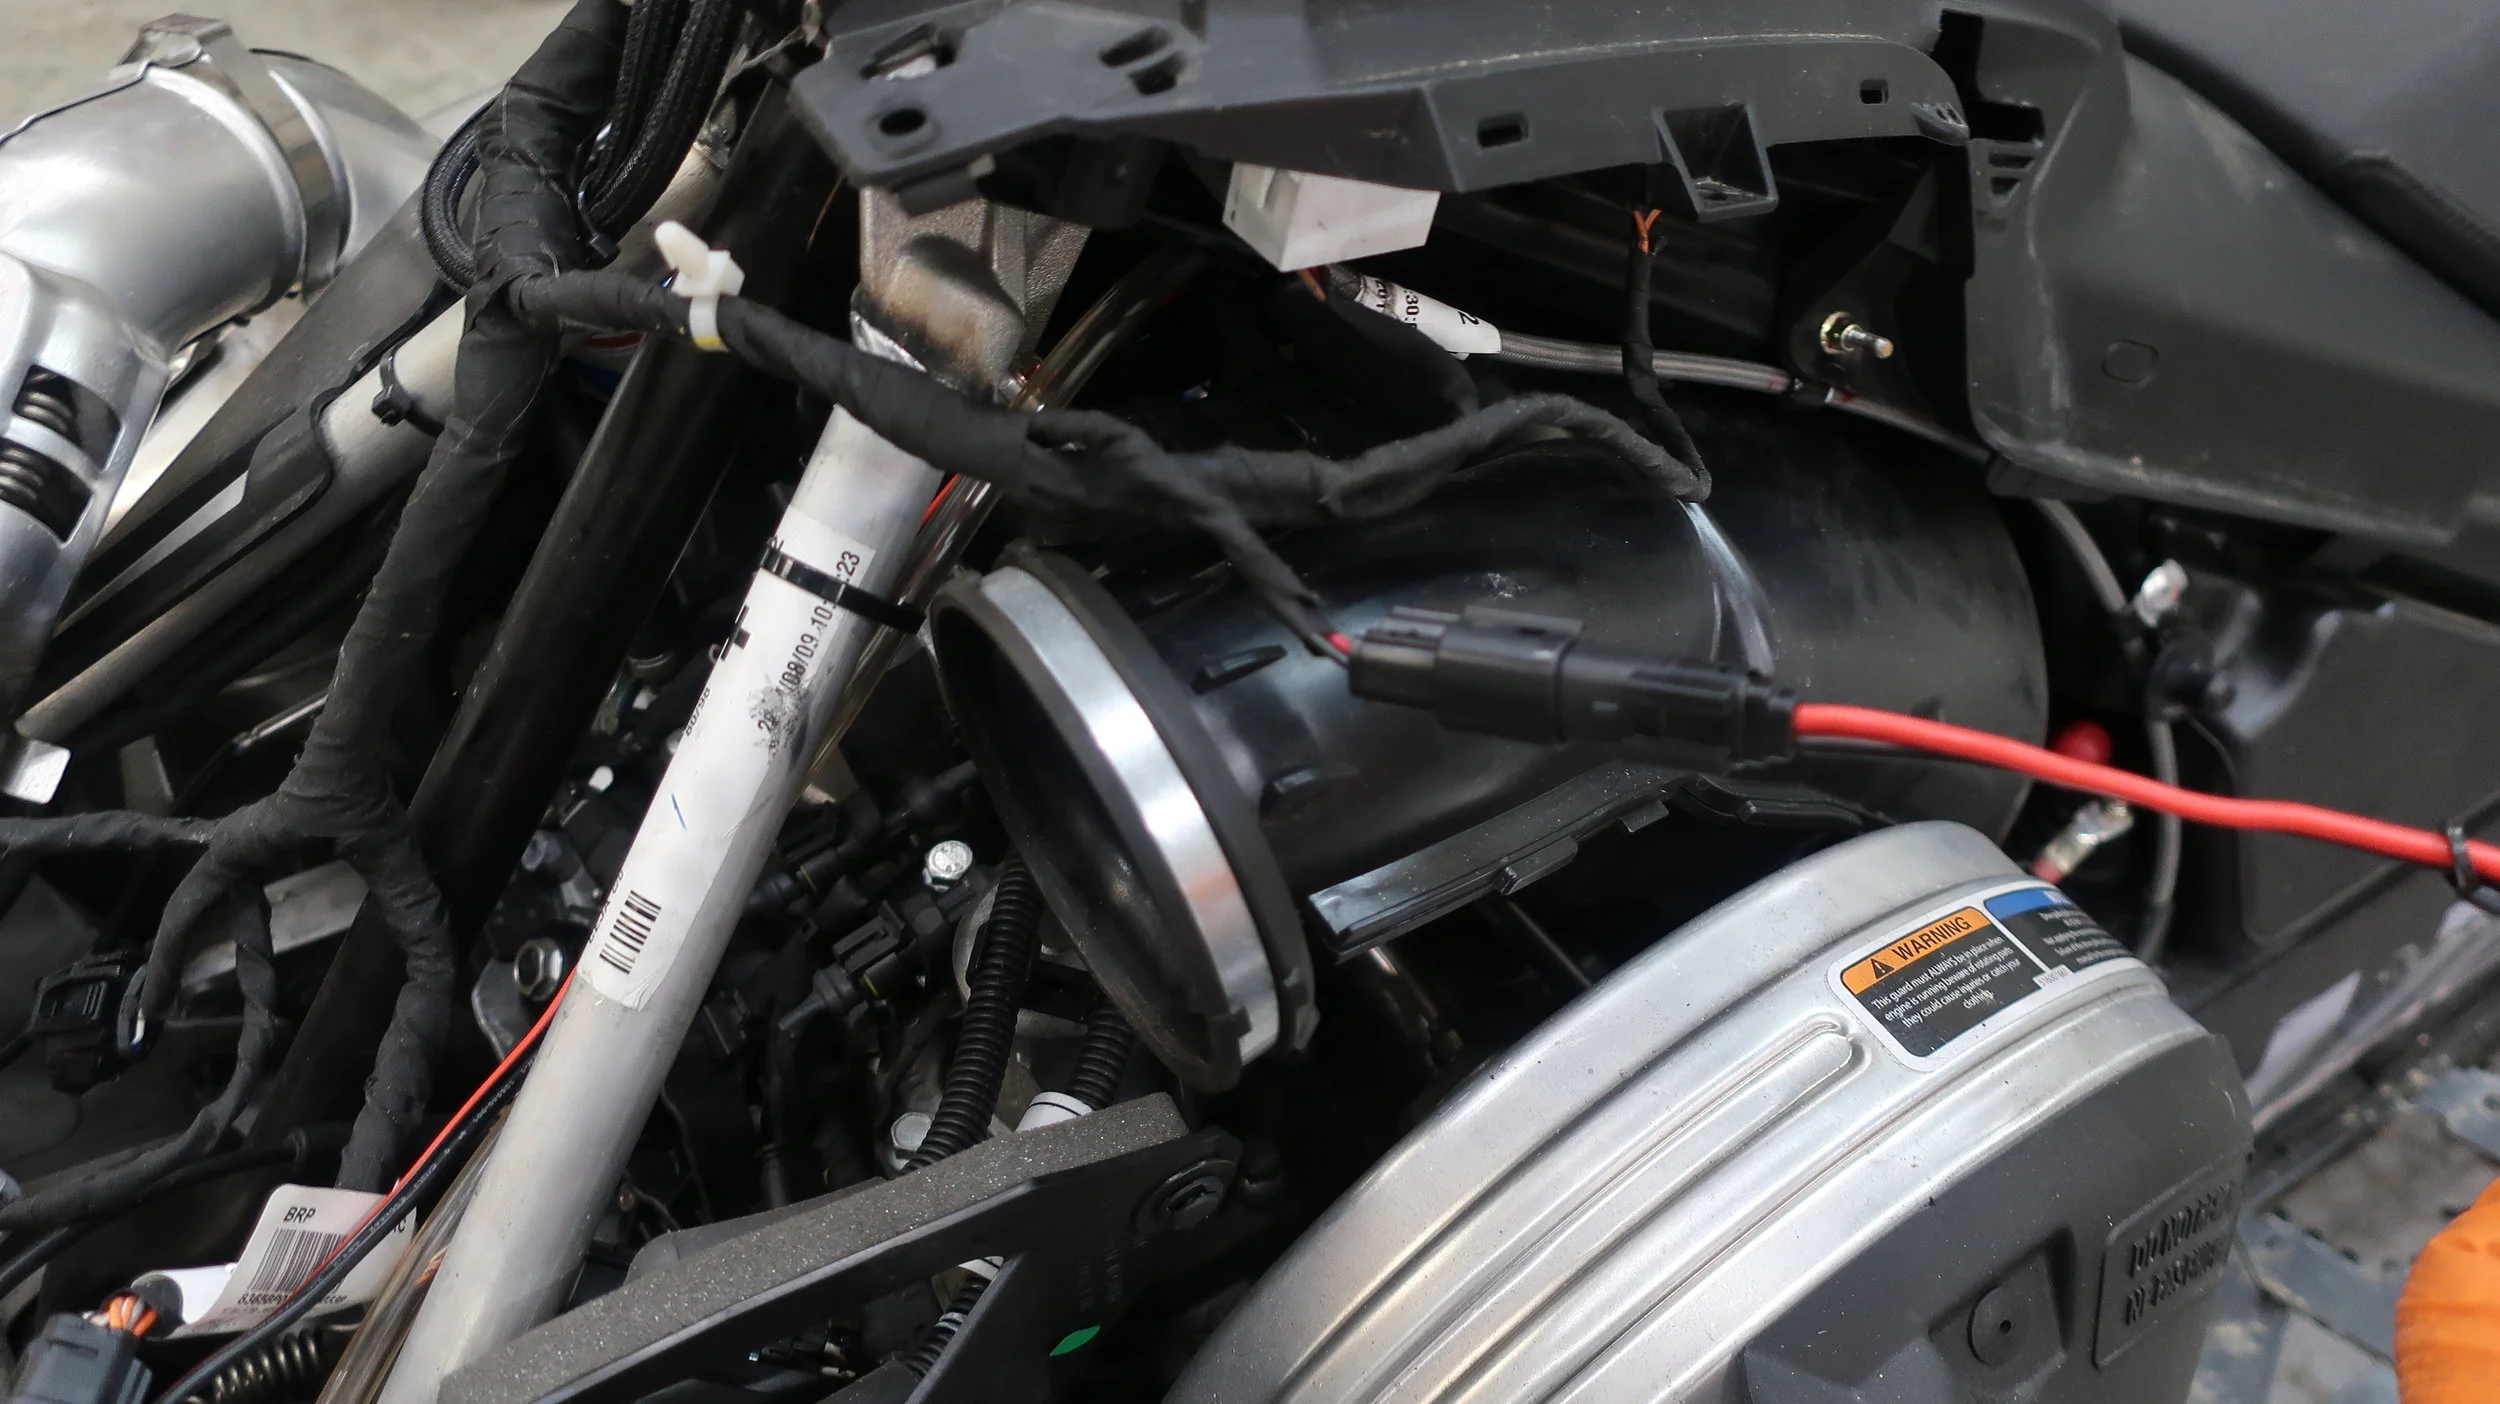
Locate the accessory power connection on the clutch side (roughly above intake tube) and connect the supplied Machine Wire Connector
Connect the Under Tank Wire 2 Prong connector to the Machine Wire two prong connector
Once connected, secure the excess wire behind the over structure (where the breather tube is) with supplied zip ties
Zip tie factory wiring harness back onto the console

